|
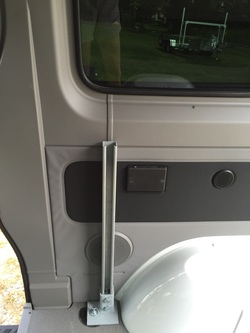
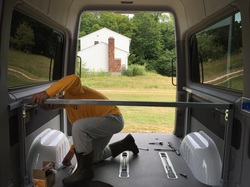
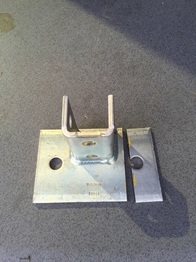
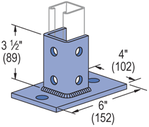
Between measuring twice/cutting once and multiple versions of drawings and revisions, we successfully installed the steel platform for our bed in a little under 3 hours this afternoon. 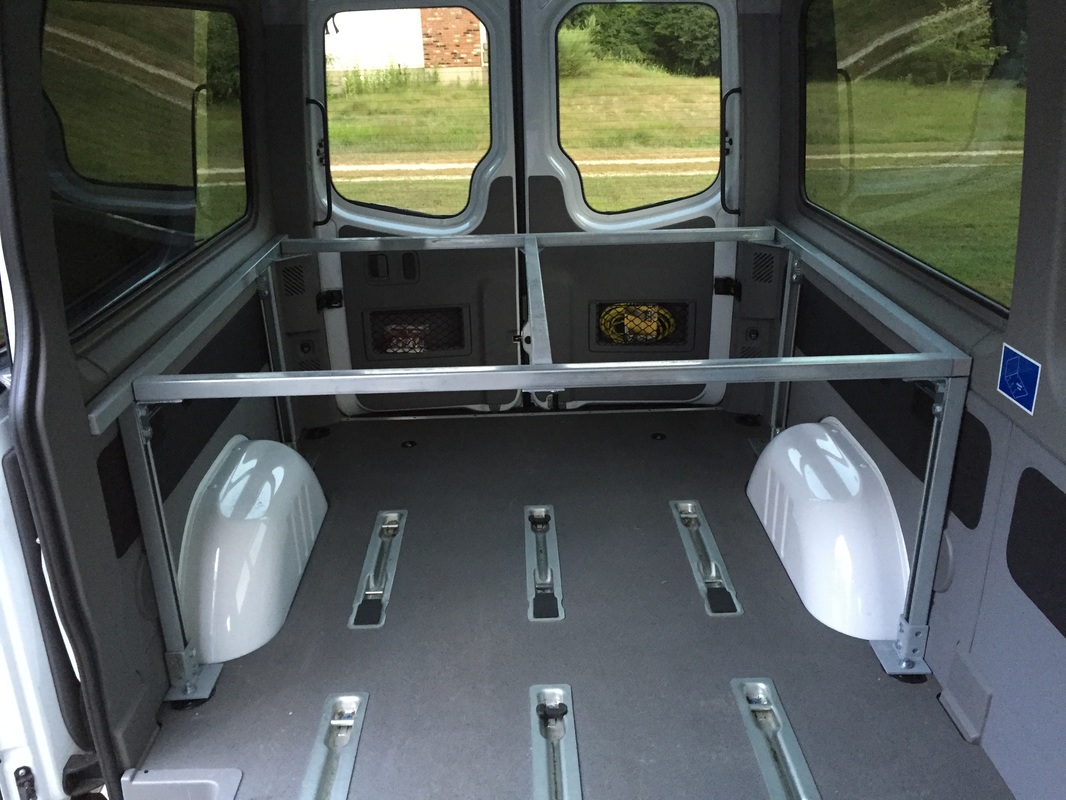 Step 1 : Insert legs into base plates and attach base plates (with LOTS of washers) into d-ring holes in the floor. A few moments of doubt when it turned out the original bolts were very tight in their fittings. Patience paid off an they went in fairly easily
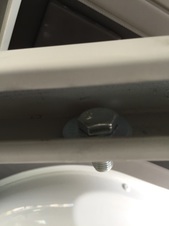
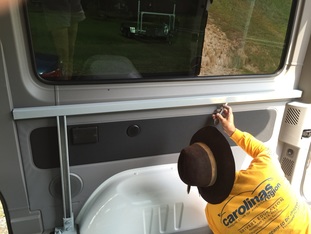
Step 2 : Attach side rails into the sides of the van using the hole that used to attach the rear seat to the side of the van. This one was a bit tricky as the bolt needed to be fished inside the channel and then tightened in the c-channel gap. A few washers helped to push the bolt head into proper positions
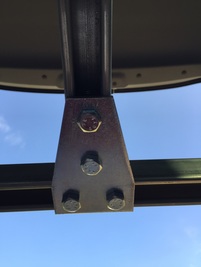
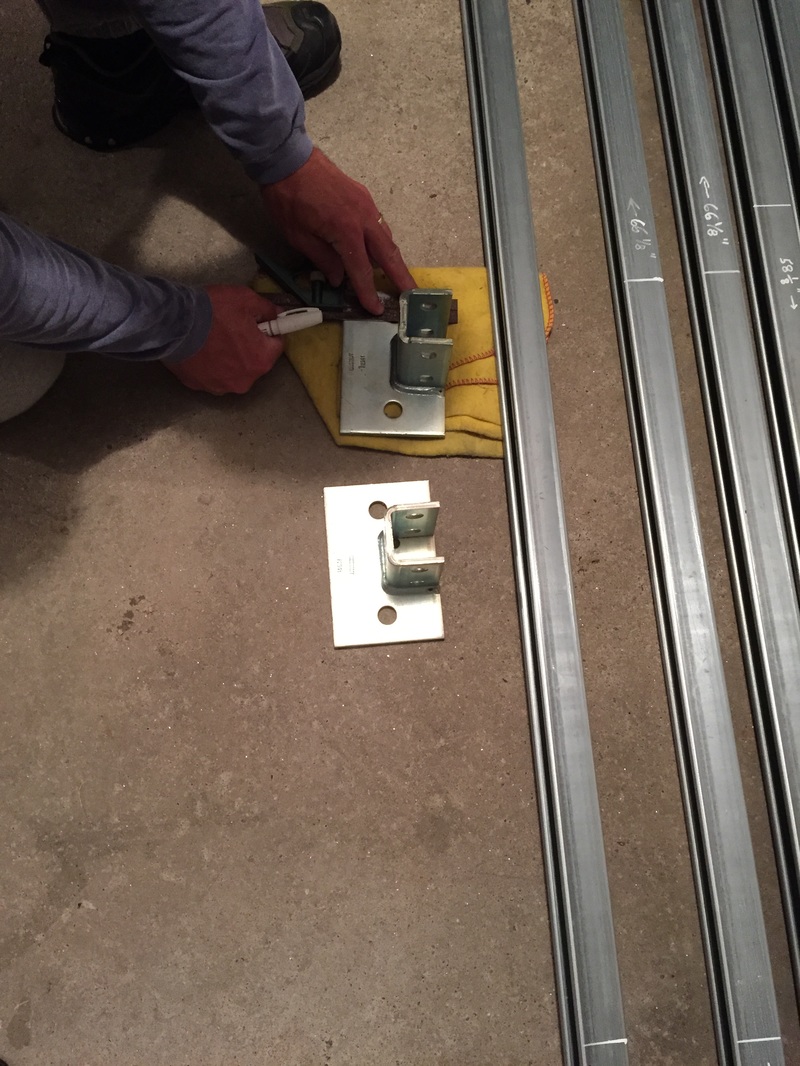
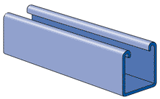
Step 3: Attach legs to top of platform. 16 bolts later this was done. The b-line system is awesome. It consists of c-channels that you join together with fittings using spring nuts and bolts. Once we realized the bolts were rounded on one edge for easy turning this went along quickly. 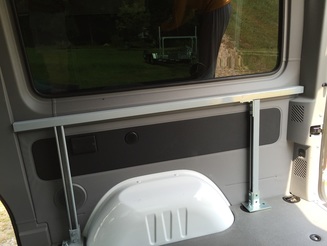 Step 4: Attach front and rear rails. Again, just inserting nuts into the channel and tightening bolts
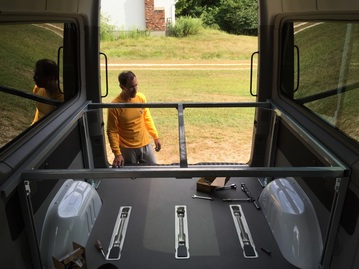
Step 5: Attach center support. Done
Step 6: Attach cabinet brackets. This was premature but we wanted to see where the holes would hit the cabinets to avoid drawer slides 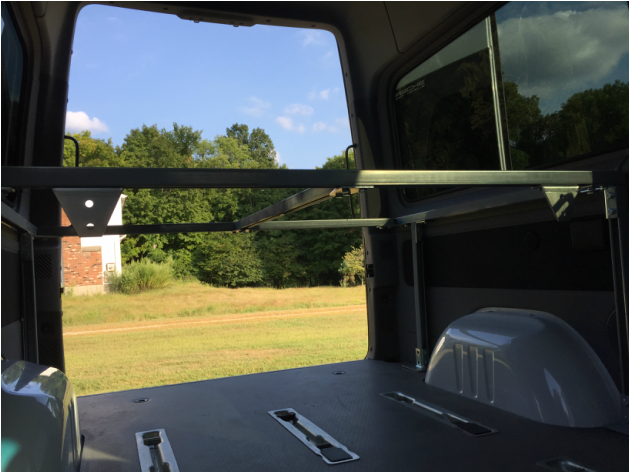 Up Next: Creating a Foundation for the Bed
12 Comments
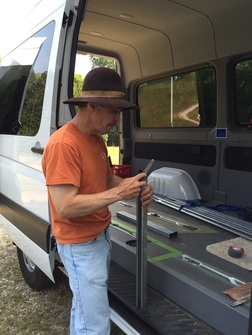
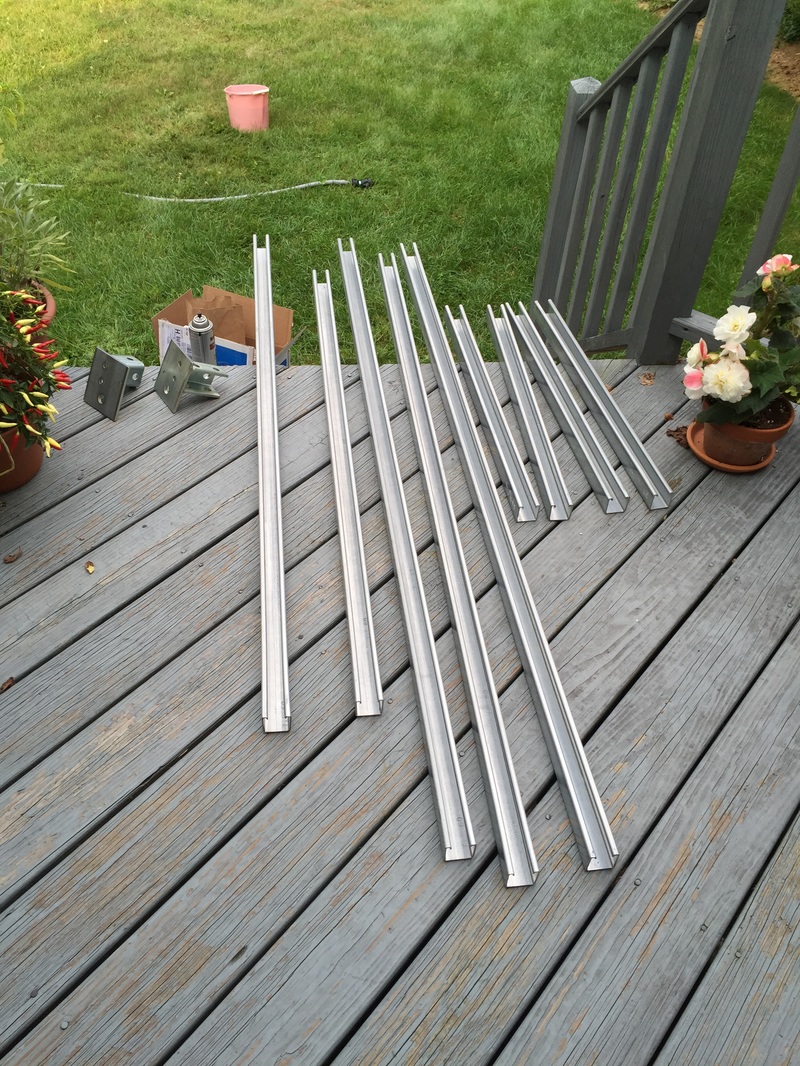
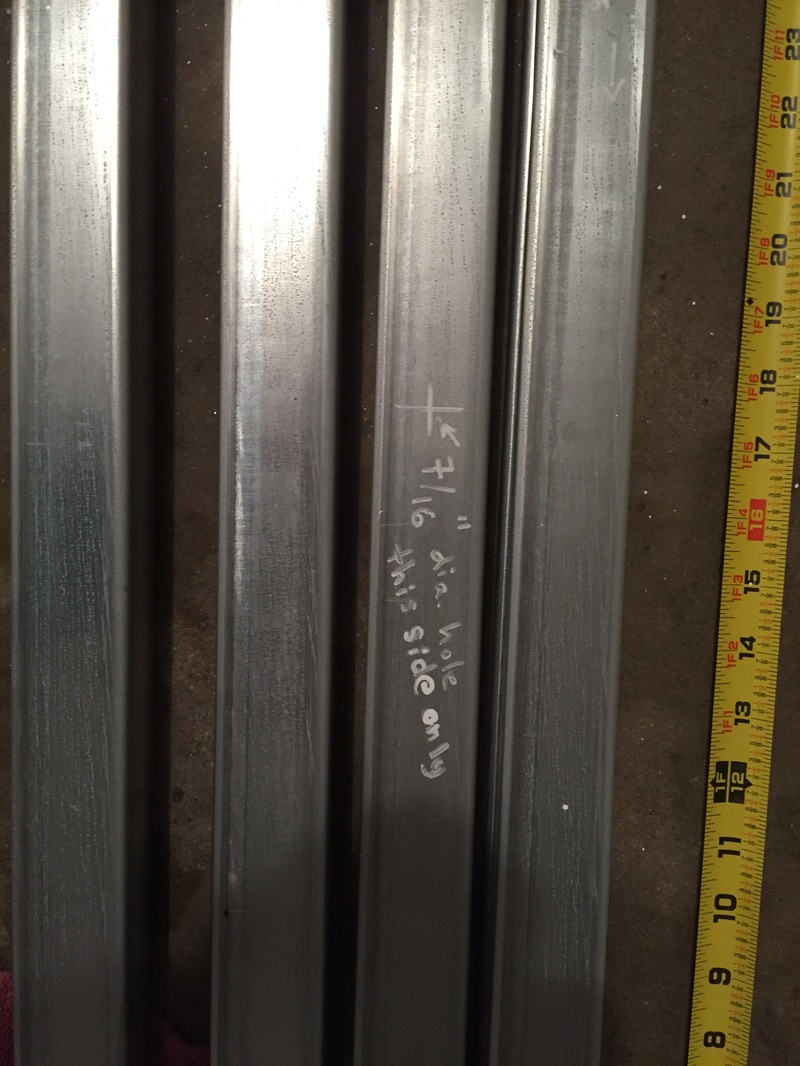
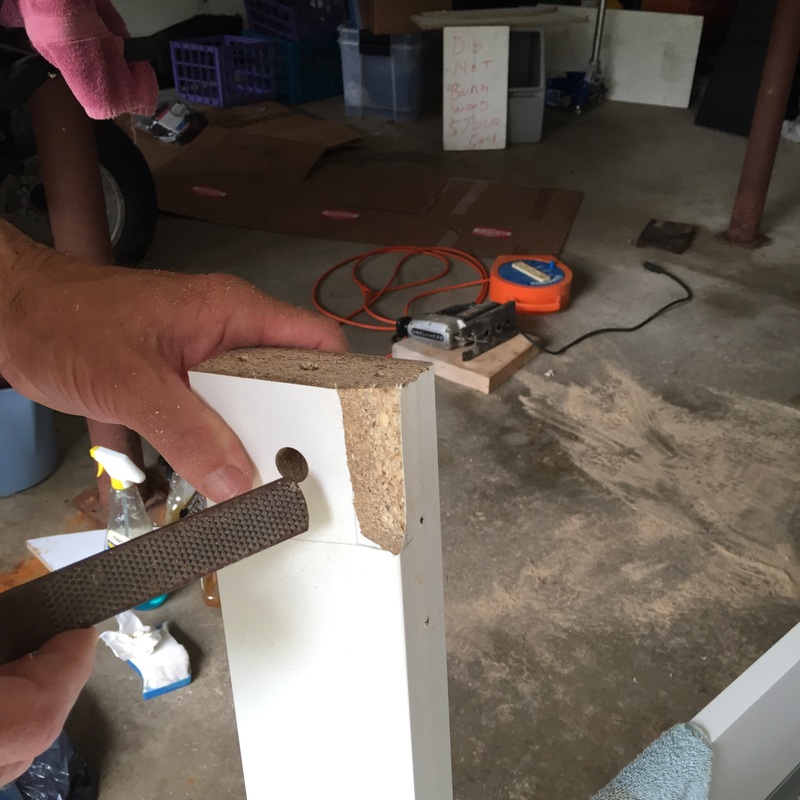
Mark took the Channels and base plates to Churyk Metalworks in New Milford and the cuts have been made. He's working on filing edges and then will wash and paint cut surfaces with high zinc paint in preparation for tomorrow's assembly. Good news is that the cuts are accurate and the bolts fit through the 2 holes in the side rails
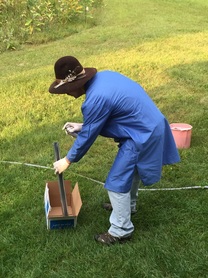
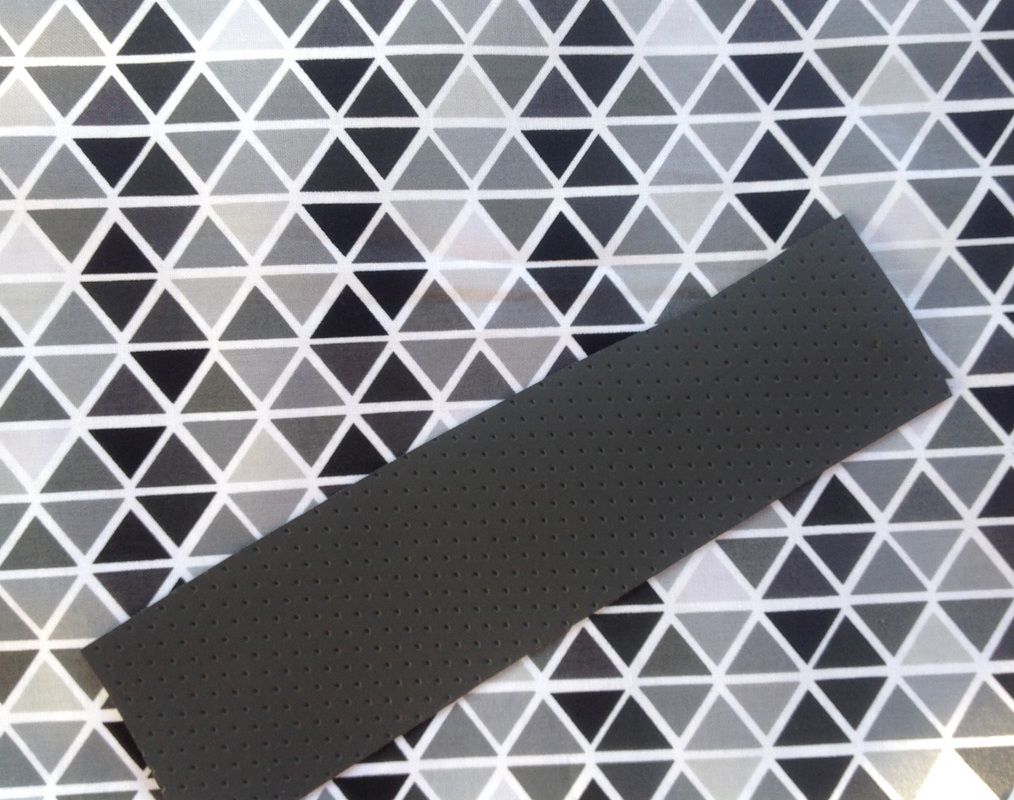
I was on the road today buying fabric for curtains and to cover the platform. Vinyl came from Chintz and Prints in Newtown and print came from Quilts by Lois in Newtown. Also bought some batting as I want to pad the front and back channels a bit. 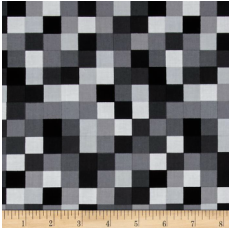 The morning started with a trip to another cabinet maker. Some new ideas emerged and we have to review both proposals and come up with a winner. Pretty exciting! We've checked all of our measurements inside the van and so it's time to mark the pieces that need to be cut. We'll be using 1-5/8" B-line c-channels for the platform top and legs. The channel comes in 10' lengths and so we're taking it to a local steel shop to have it cut. This was another chance for team work. Using a tape measure, t-square and white paint pen we measured, marked and measured again. We'll end up with 5 channels for the top plus 4 legs. We also need to have 2 of the base plates trimmed slightly so that they can be up against the wheel wells. New stronger magnets arrived today so more measuring on tap for the am followed by a trip to the fabric stores for platform cover and curtain materials. 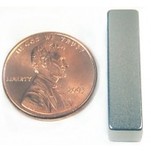 1"x 1/4" x 1/4" Bars/Blocks - Neodymium Rare Earth Magnet
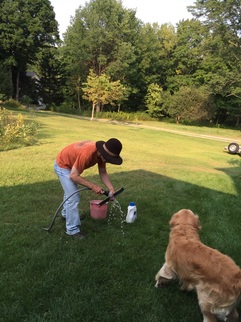
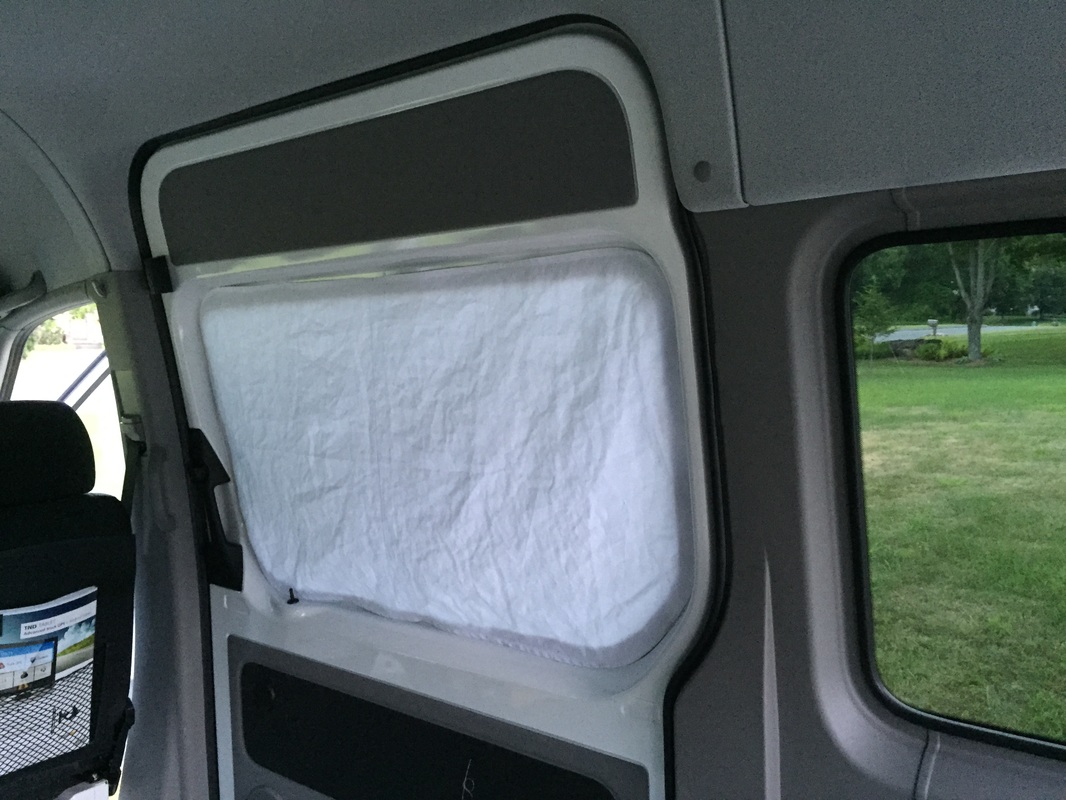
Took a break today to shop for fabric for our home away from home. Last week I worked on a cover for the front window shade and a magnetic cover for one of the metal doors. The case turned out great but the window covering needs some help--the magnets aren't strong enough and the fabric is blah.
Today I took a trip to the fabric store to look for other options. We need vinyl to cover the bed frame & platform" |


 |  |
Decided I had nothing to lose so I contacted the company to see if they would help. I've been trading emails with designs and parts lists for several weeks. There are tons of options for finishes and gage of steel so I'm waiting to firm up details and we'll be placing a order. And, we want to be sure the channels all face the proper way for the fittings to work
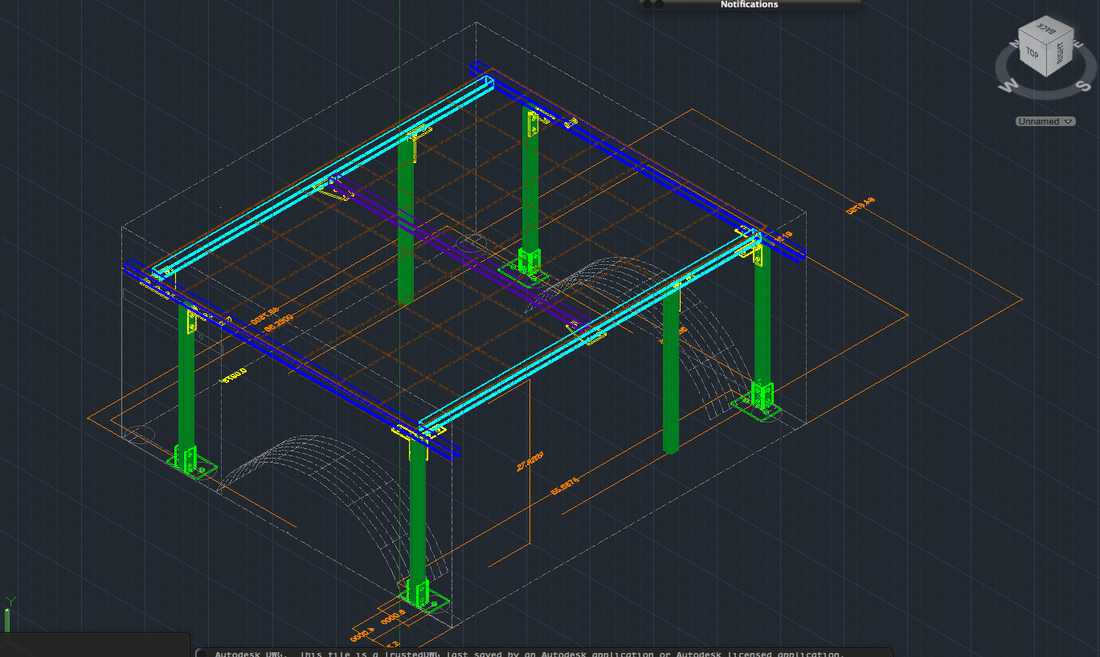
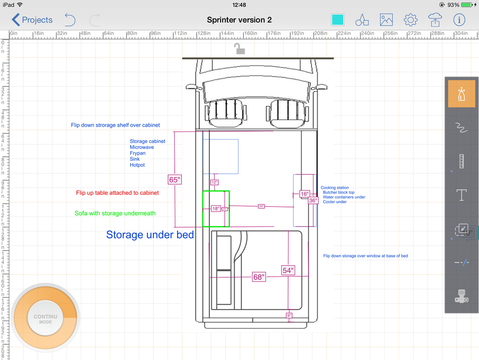
Time to dig out the masking tape and start laying the van out on the floor. Also time to confirm all the measurements. Here's where the iPad and OneNote came in handy.
 |  |
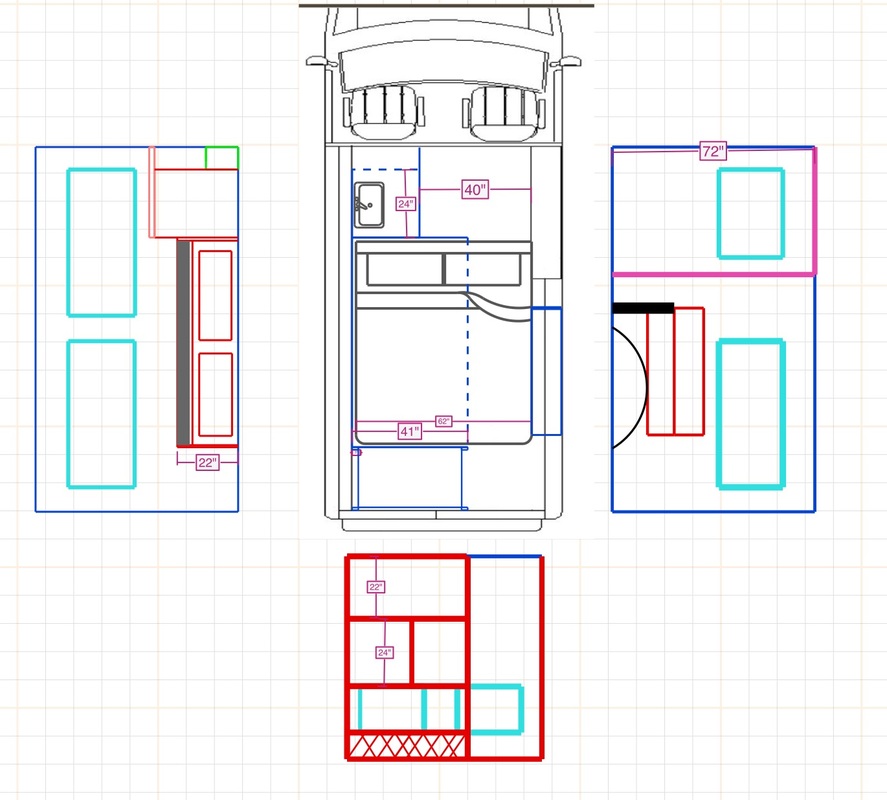
Back to ArcSite for a simple floor plan before we move on to CAD Drawings
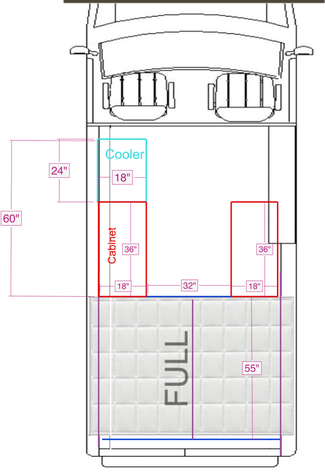
A trip to the west coast including a climb with a friend who has a camper van and suddenly we realize that our design uses all the floor space and leaves little room for storage. So, it's back to the drawing board (using ArcSite on my iPad) to start again
What's different:
What we gave up:
- Bed is now a platform that runs across the van in the back on a platform that provides space for storage underneath.
- We replaced the cabinets on the passenger side with a cabinet that will cover part of the slider and allow us to cook inside when the weather is bad.
- We moved the cooler from behind the passenger seat to the driver side between the sink cabinet and the bed
- There's now space for a table inside for dining.
What we gave up:
- The ability to walk from front to back inside the van.
- Using the furniture we already purchased - hello to a new guest bed and some storage for the climbing room
Of course, there's a version 3 that removes the sink idea because it just takes up too much space. Time to really do some design specifics
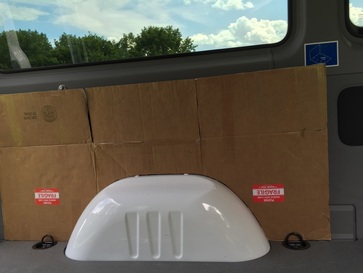
In order to get the bed to fit into the van, we needed to cut a hole in the back. First we removed the wheel covering to reveal the steel and minimize the size of the cut. An old box was used to create a template for the cut
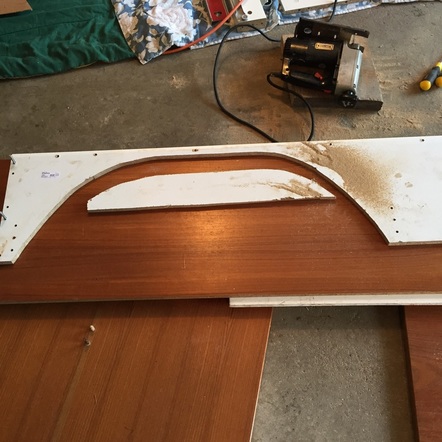
Jigsaw in hand, we began cuts in both the back of the stationary bed as well as the back of the rolling bed. Oops, a challenge. The brace that supports the mattress interferes with the cut. So, we'll need to raise the beds by 1/2".
 |  |
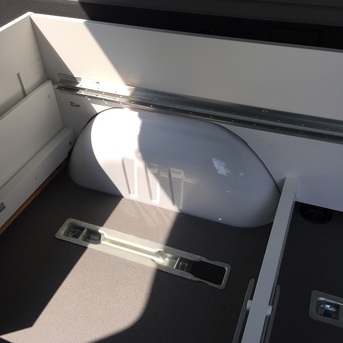
| Cuts complete we reassemble the bed and it fits! We assemble the two cabinets and they fit too! |
 |  |
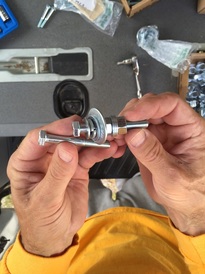
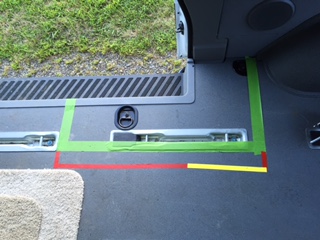
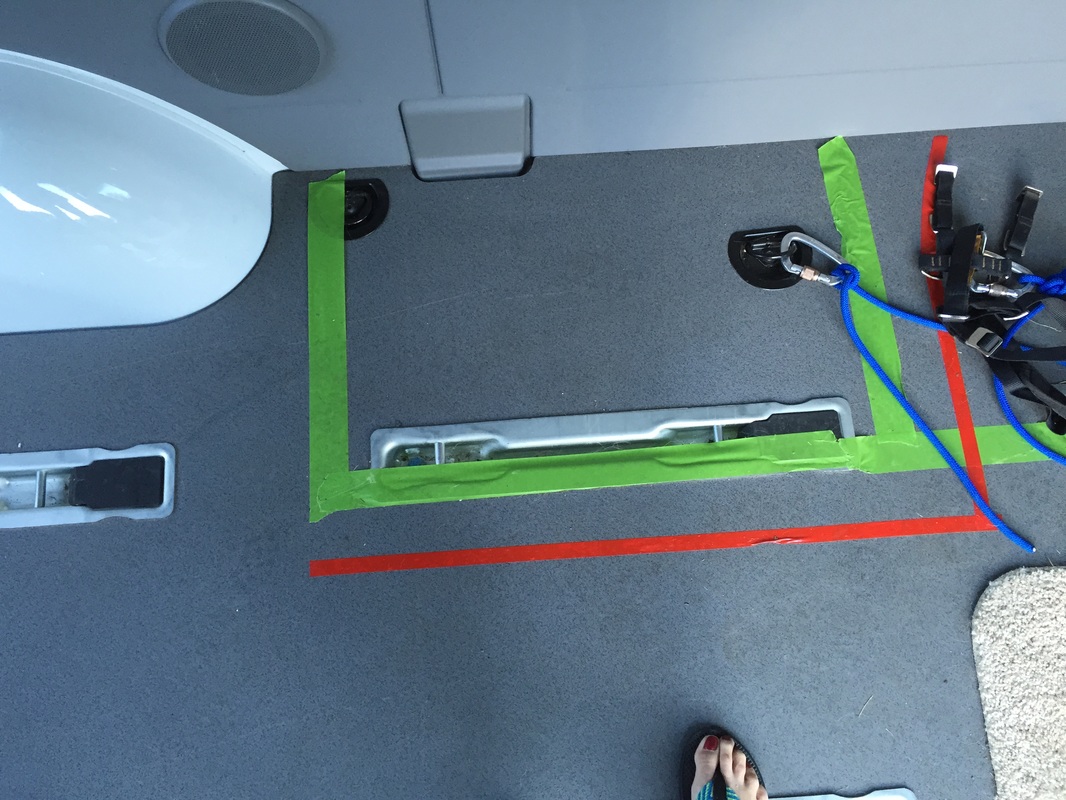
Now, it only remains to figure out how to secure things to the floor. Because we chose a passenger van, there are only two ways to attach things
We plan to use the bolt to attach the top of the bed as well as the D-ring to attach the front. Oops, using the D-rings would require cord that runs along the back of the bed and so we lose another inch.
It's not looking good
- The wall bolts that secured the rear-most seat to the wall
- The D-rings we had installed on the floor
We plan to use the bolt to attach the top of the bed as well as the D-ring to attach the front. Oops, using the D-rings would require cord that runs along the back of the bed and so we lose another inch.
It's not looking good
Why DIY? Upfitters want to create a home away from home and that certainly doesn't give you space for track ramps, climbing gear, dogs or other camping necessities. Oh, and they are really, really, expensive
Keep it simple was our goal. Let's find a bed and some cabinets that are cheap and fit what we need. I know....let's go to IKEA. So, off we tramped to the IKEA in New Haven to see what was available.
Keep it simple was our goal. Let's find a bed and some cabinets that are cheap and fit what we need. I know....let's go to IKEA. So, off we tramped to the IKEA in New Haven to see what was available.
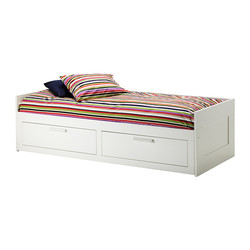
1. A trundle bed. What a great idea! We can push it in during the day and walk through to the back whenever we want. There are two drawers for storage underneath. We'll be able to use it as a sofa to read at night. It will go on the driver's side near the rear
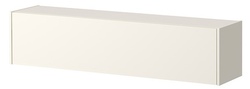
2. Storage cabinets. We found some with fold down fronts that could stack on top of one another over the passenger side wheel.
3. Sink and sink cabinet. Located behind the driver's seat, this would give us a place to put white water and grey water supplies, install a sink with a pump and thus have running water.
We came home and drew up a small plan of how things would look. We even added a set up storage shelves in the back behind the bed. We were so pleased with ourselves.
The next week we took a trip to the Jersey shore and stopped at IKEA in Paramus on the way. We should have taken as a sign the fact that the storage cabinets were being discontinued and thus we had to drive to Elizabeth to pick up the second cabinet. Oh, and we decided to wait on the sink and cabinet until the bed and shelves were stored.
All we needed to do was make a few minor adjustments and install the furniture...
Author
We're a Connecticut couple that retired early so we can see our kids, grandkids and the world. We purchased a 2015 144" High Roof Sprinter Passenger Van and we're converting it ourselves into a camper.
Archives
June 2016
October 2015
September 2015
August 2015
July 2015
June 2015
Categories
All
Cabinets
Design
Platform Bed
Sprinter DIY
Window Treatments
 RSS Feed
