|
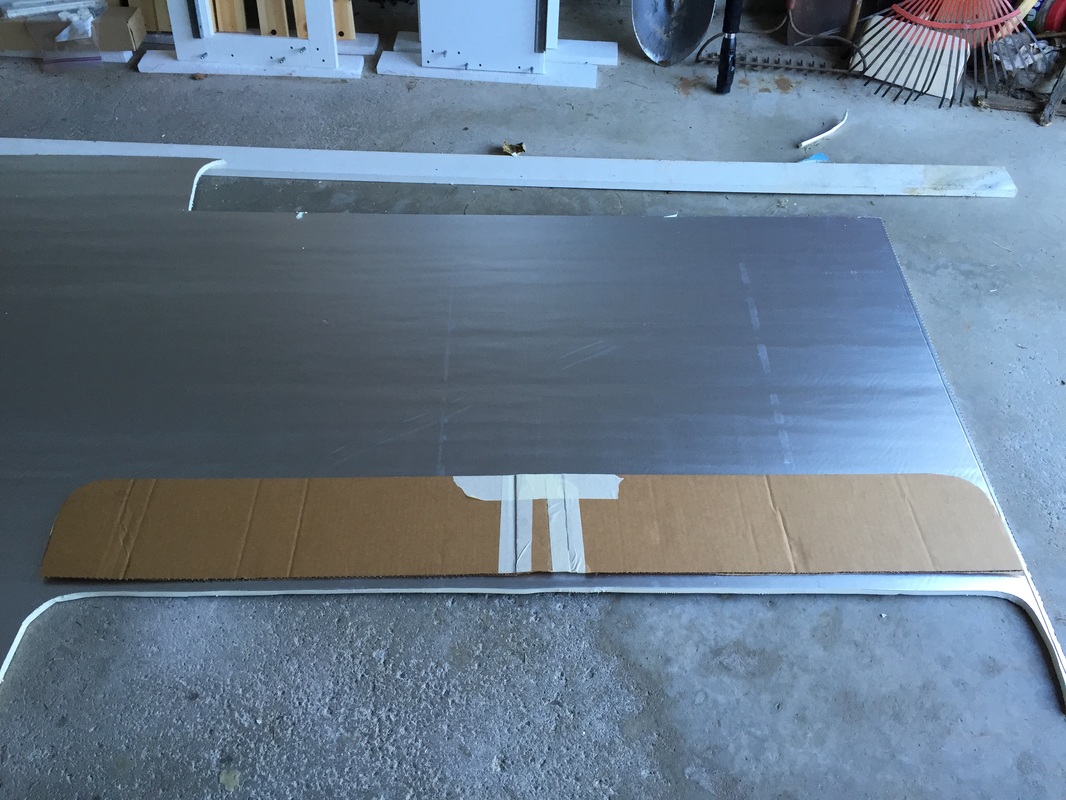
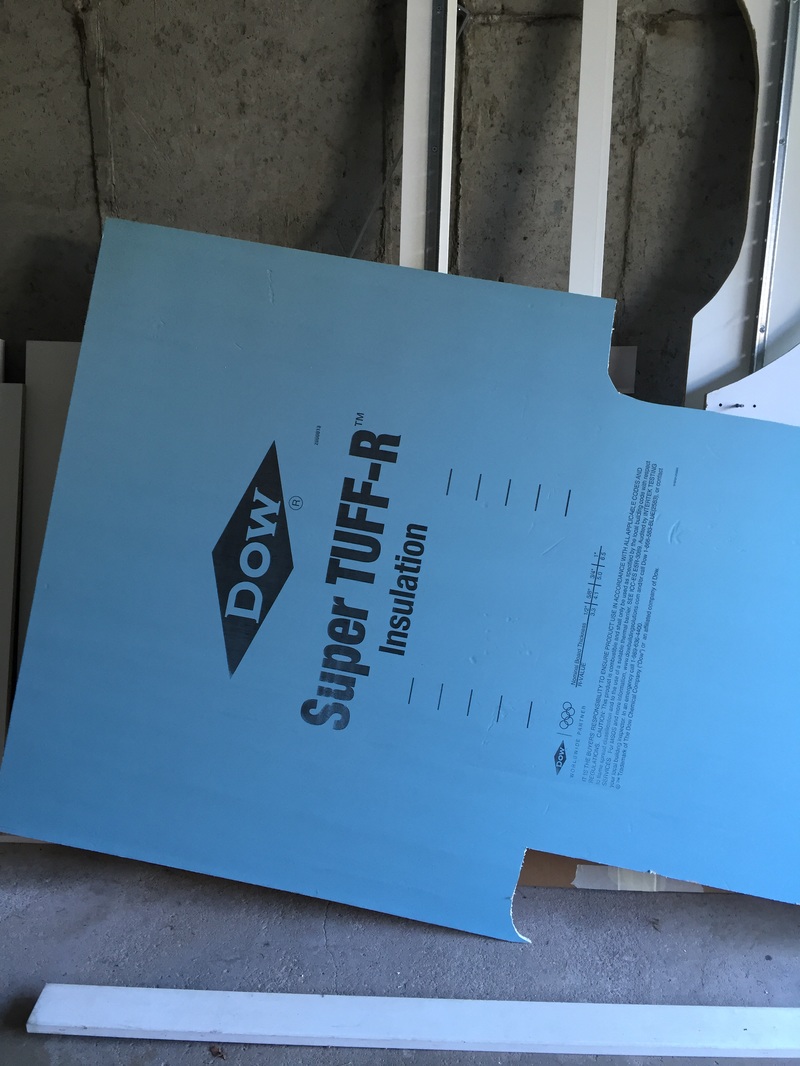
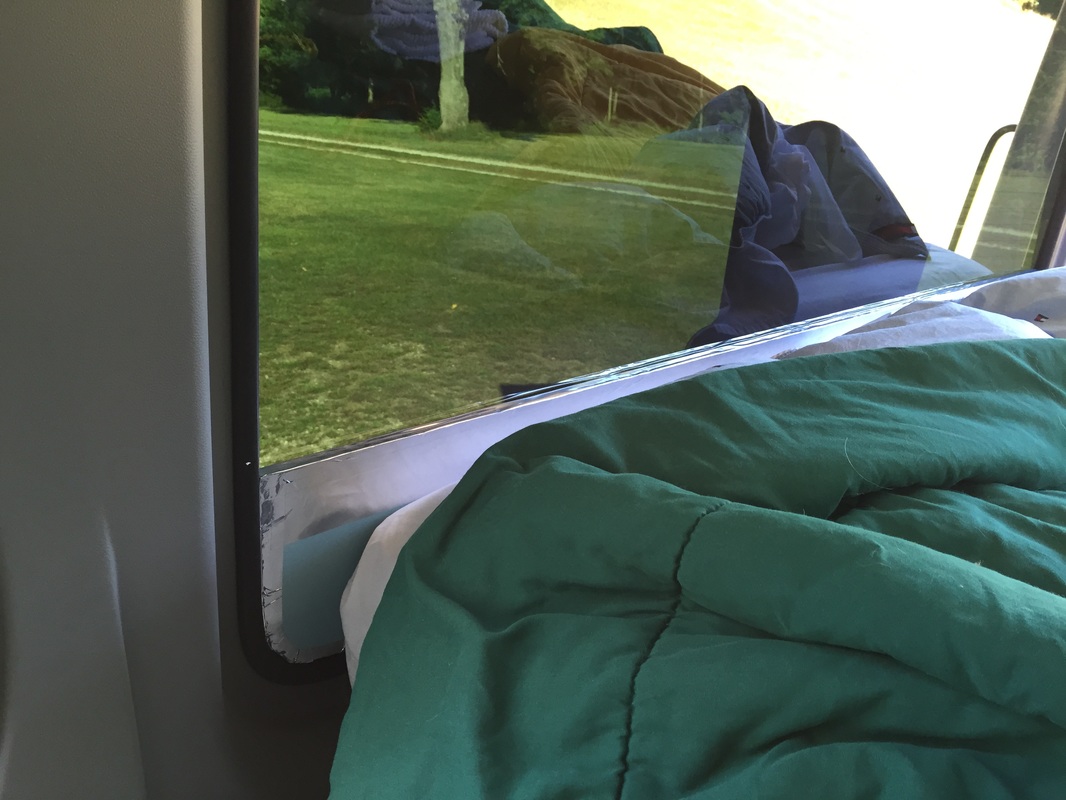
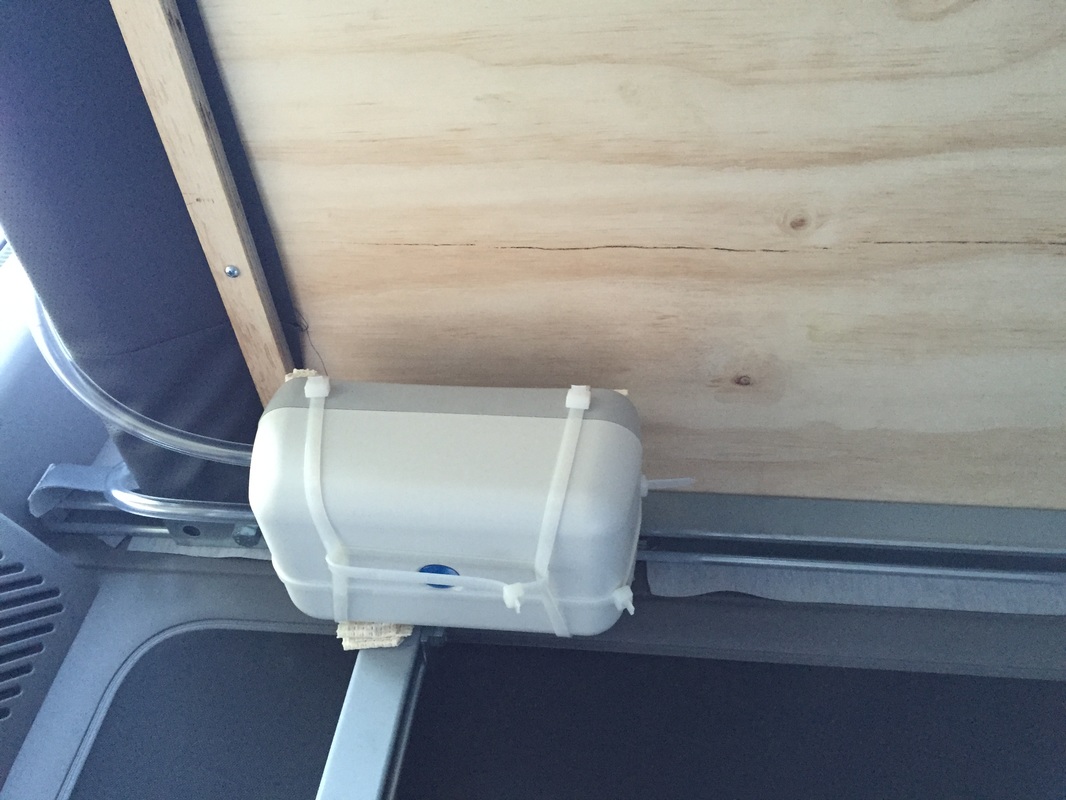
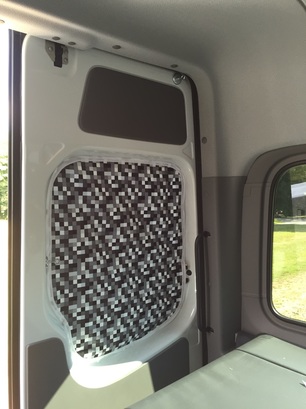
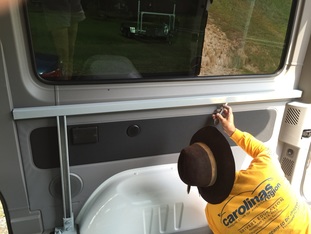
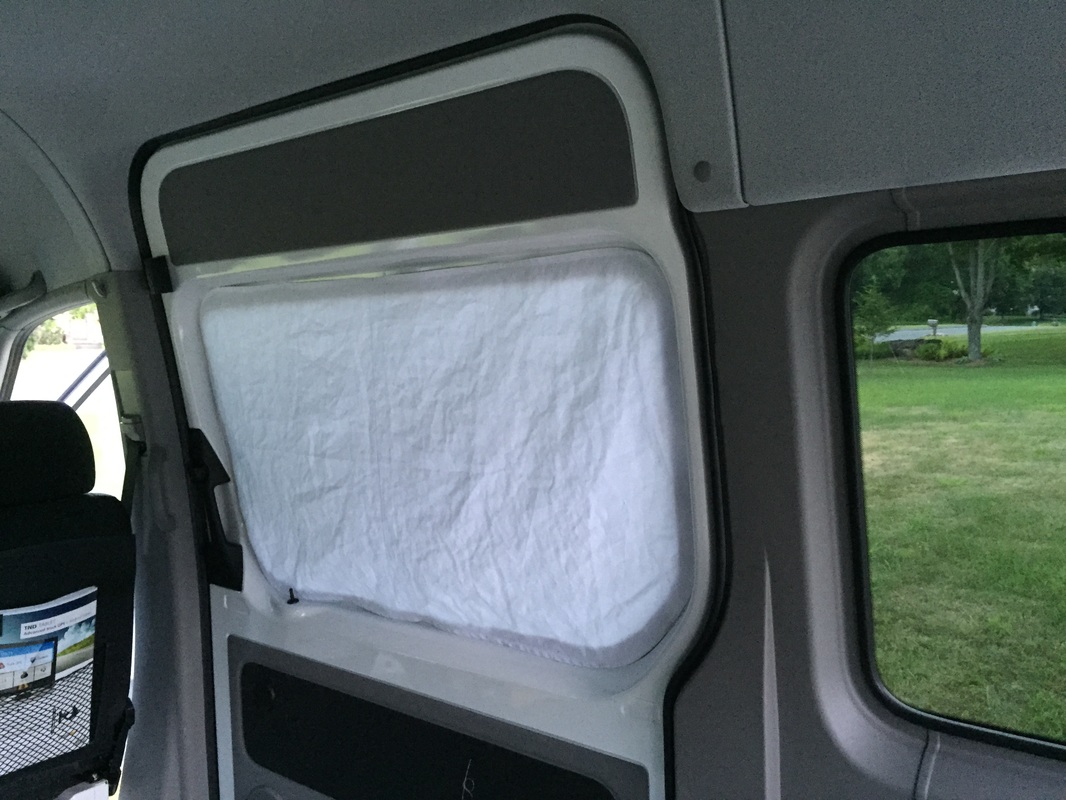
We came up with a workaround for our hot tinted window problems that we hope will work. Mark found silvered foam core board. After constructing a cardboard template, we cut it to fit the bottom of each of the side rear windows and covered it with silver tape. Will have to wait to see if it works. The third of six window coverings is also done so now we have 3 magnetic curtains for the doors. 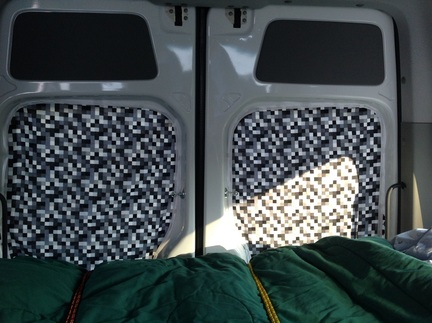 The mattress pump is now secured under the platform with zip ties and the cross beam that will secure the underbed cabinet has been installed.
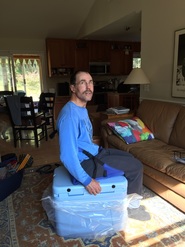
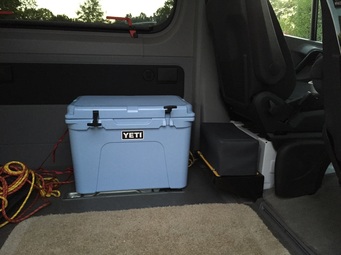
The cooler arrived yesterday and it's great. It will also serve as a seat for dining once I make a cushion for the top. So. it's off to the store again tomorrow to buy foam.
3 Comments
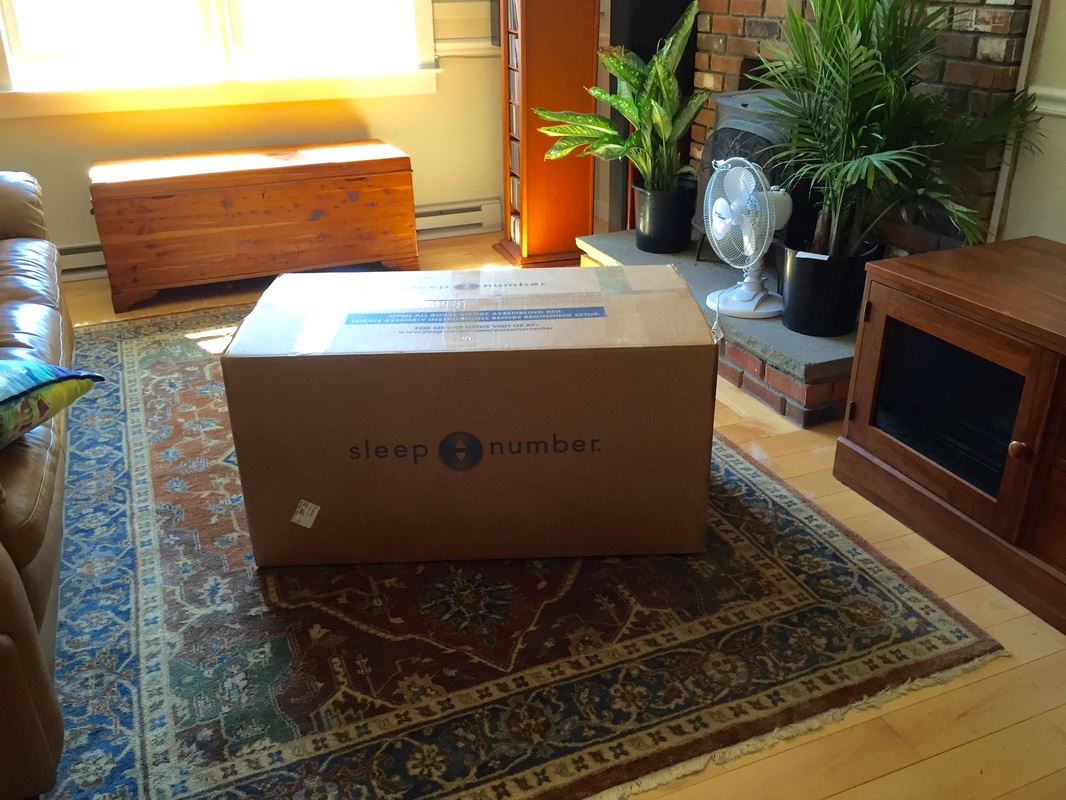
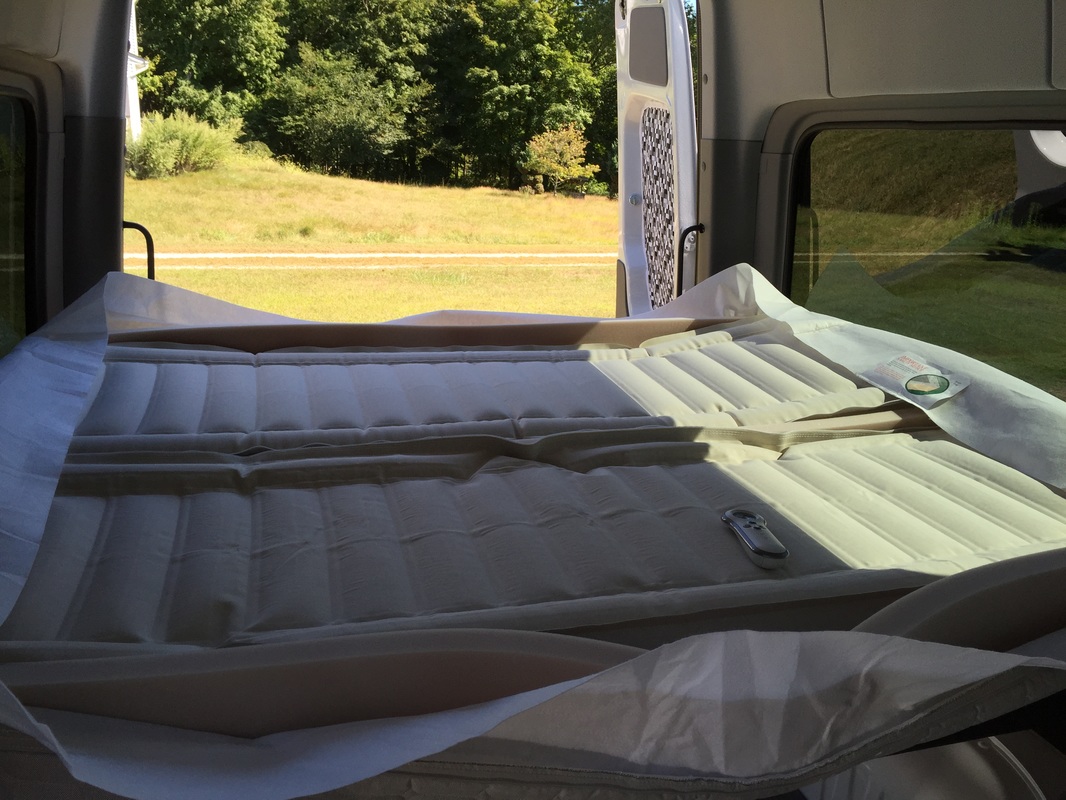
Yesterday our C2 full size dual chamber Sleep Number Mattress arrived via UPS. Since we had already assembled on of these babies, the set up went quite quickly.
 Once assembled and inflated we noticed two "small" challenges
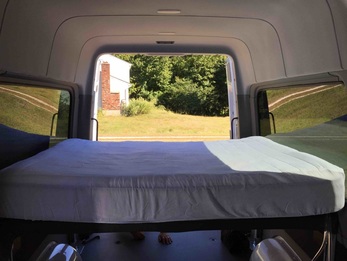
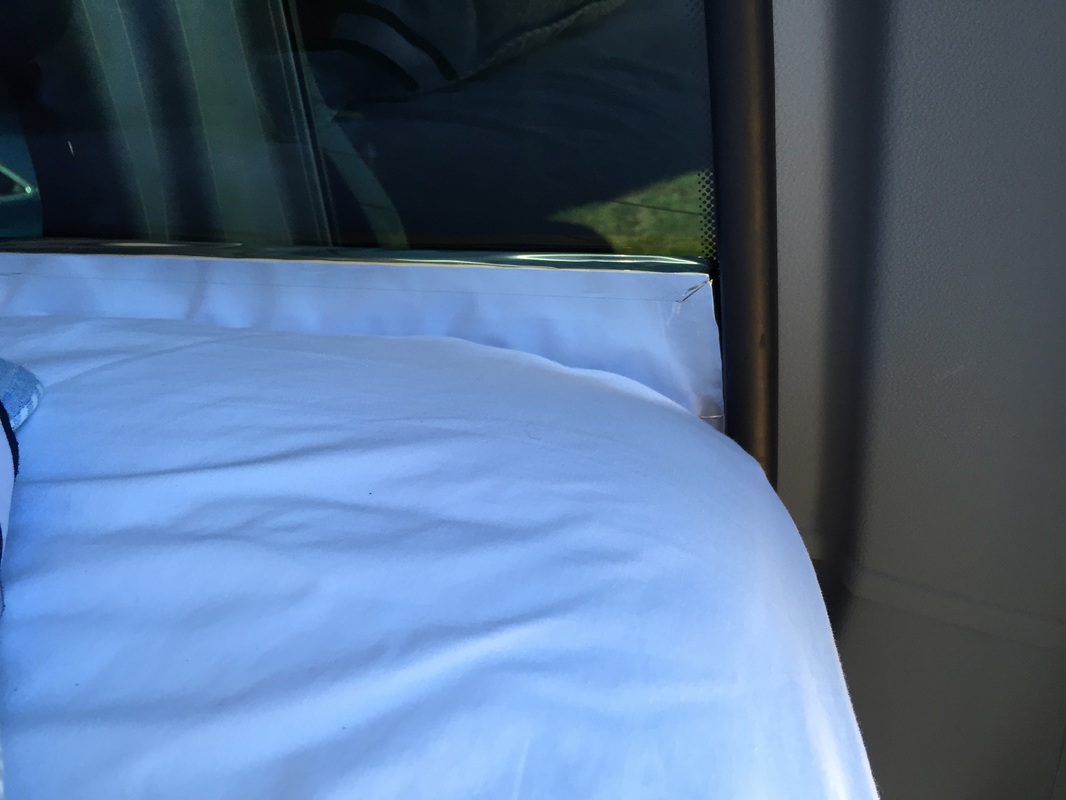
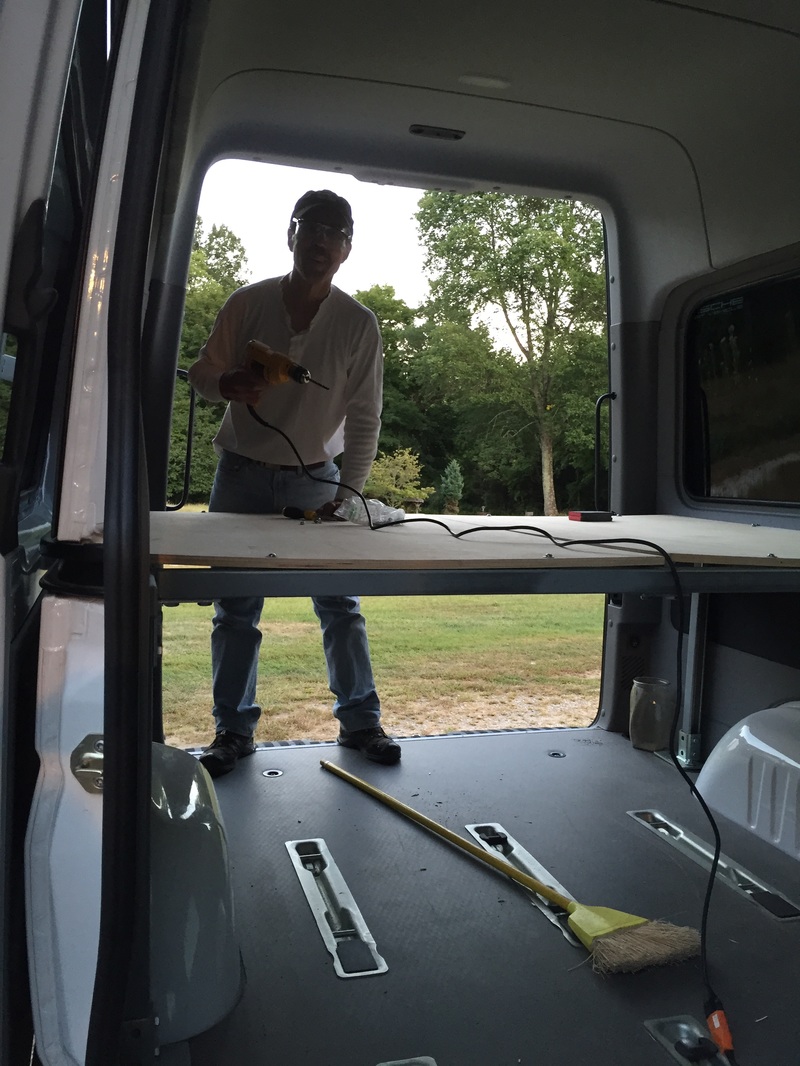
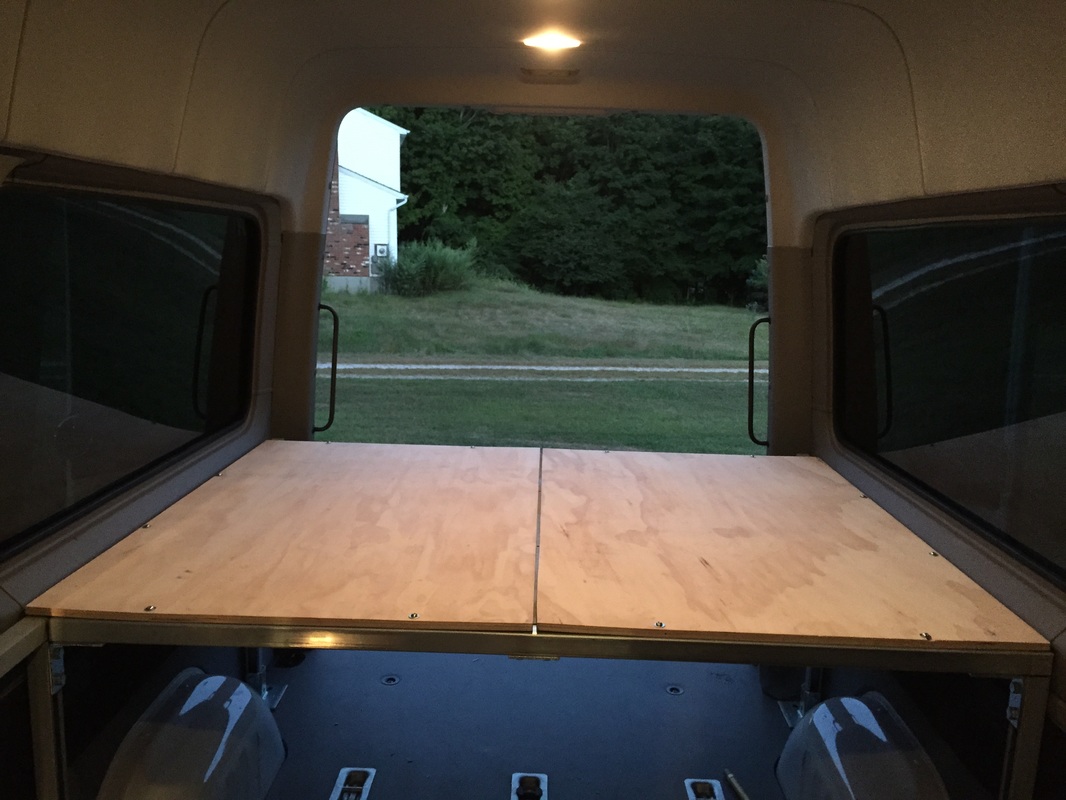
Now what? 1. A visit to the store "those are never included - who told you that" resulted in "free" tubes along with additional endcaps. However, those extension tubes do NOT have a valve that allow you to disconnect the pump while sleeping. So, back to the drawing board with finding some sort of valve that will do the job 2. We stuffed a folded towel between the window and the mattress as a temporary fix. Stay tuned for the work arounds for our two challeges. Meanwhile, we plan to take a small overnight to test the bed. Oh, and until the cabinets arrive, we're using climbing rope to keep the bed attached to the frame while driving. I've been assured that said ropes will be remove for sleeping. 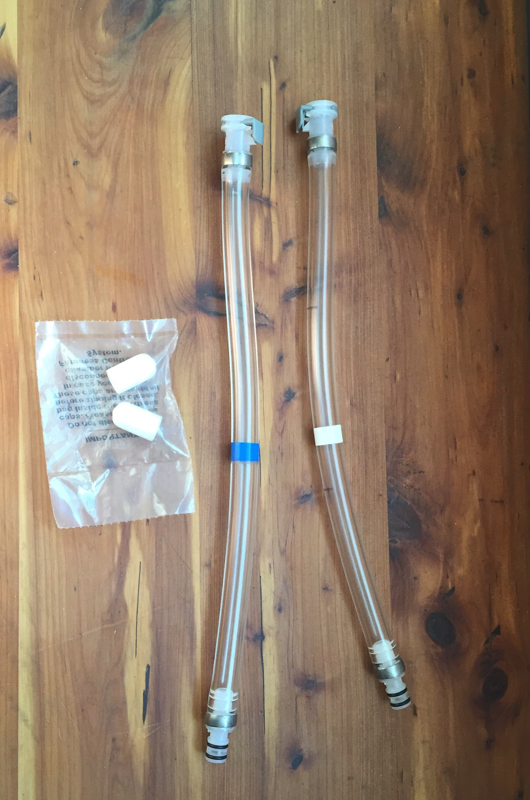 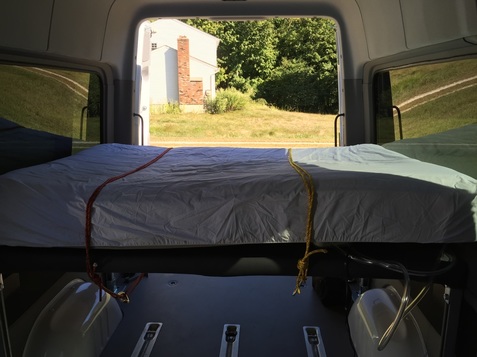 A trip to the lumber yard resulted in 2 cut pieces of 5/8" birch plywood that make up the base of the bed. Also bought fasteners and 4-1" x 30" strips that will be used to hold the fabric to the base. 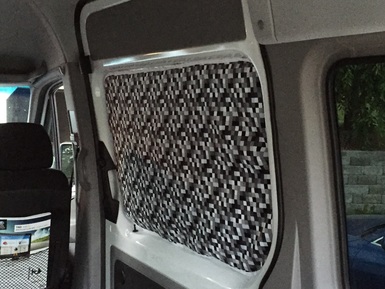 While Mark worked on the base, I modified the slider door cover I'd made to jazz it up a bit and replace the small magnets with a variety of larger magnets. I'm MUCH happier with the results!
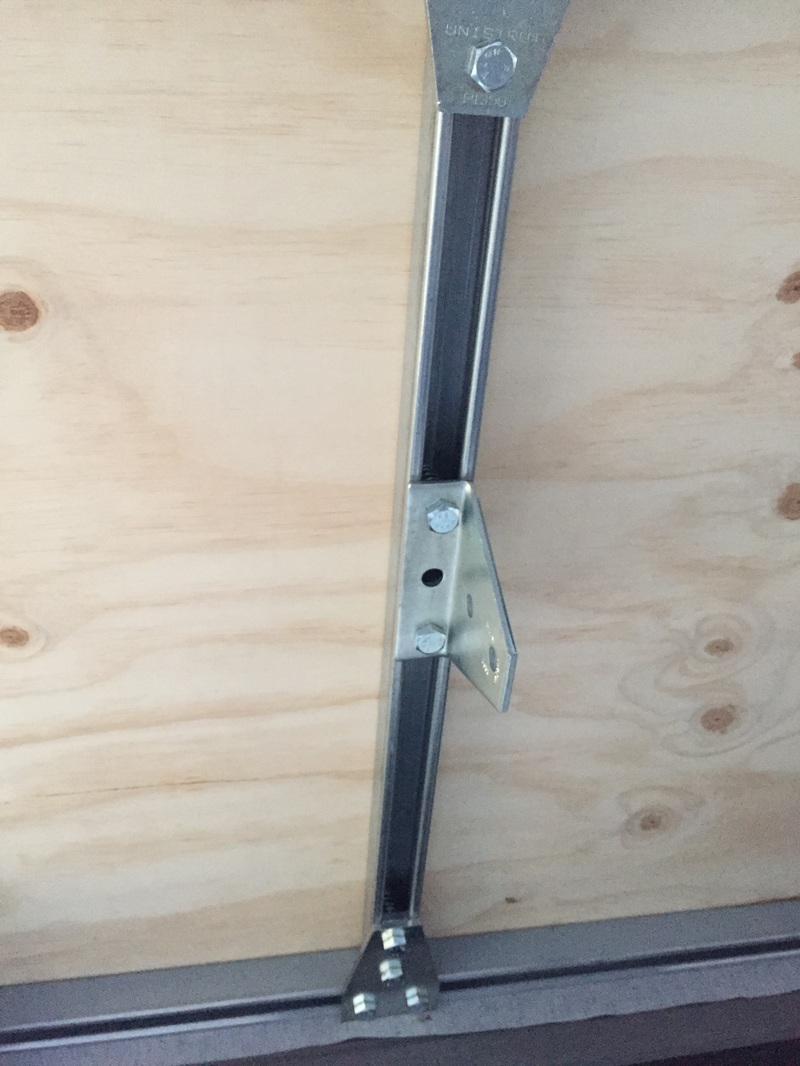
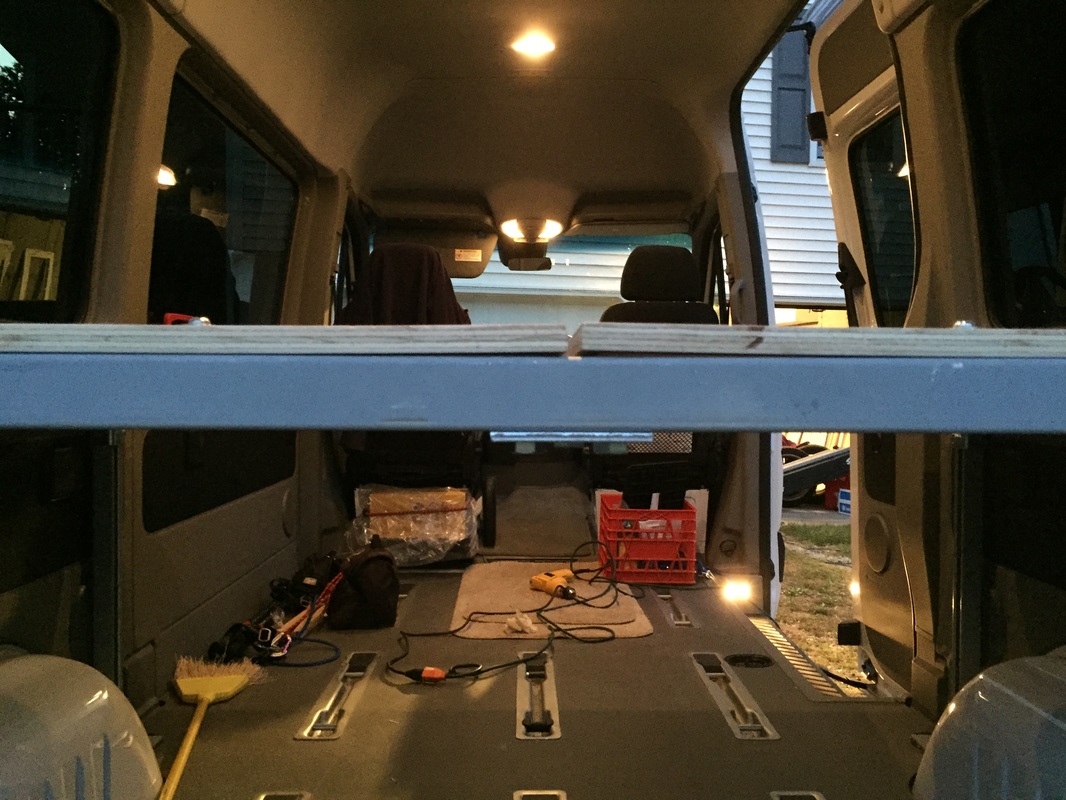
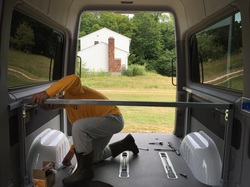
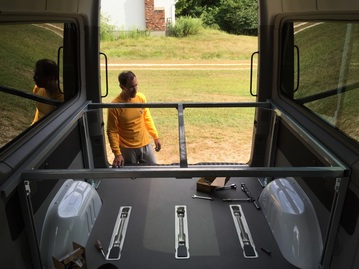
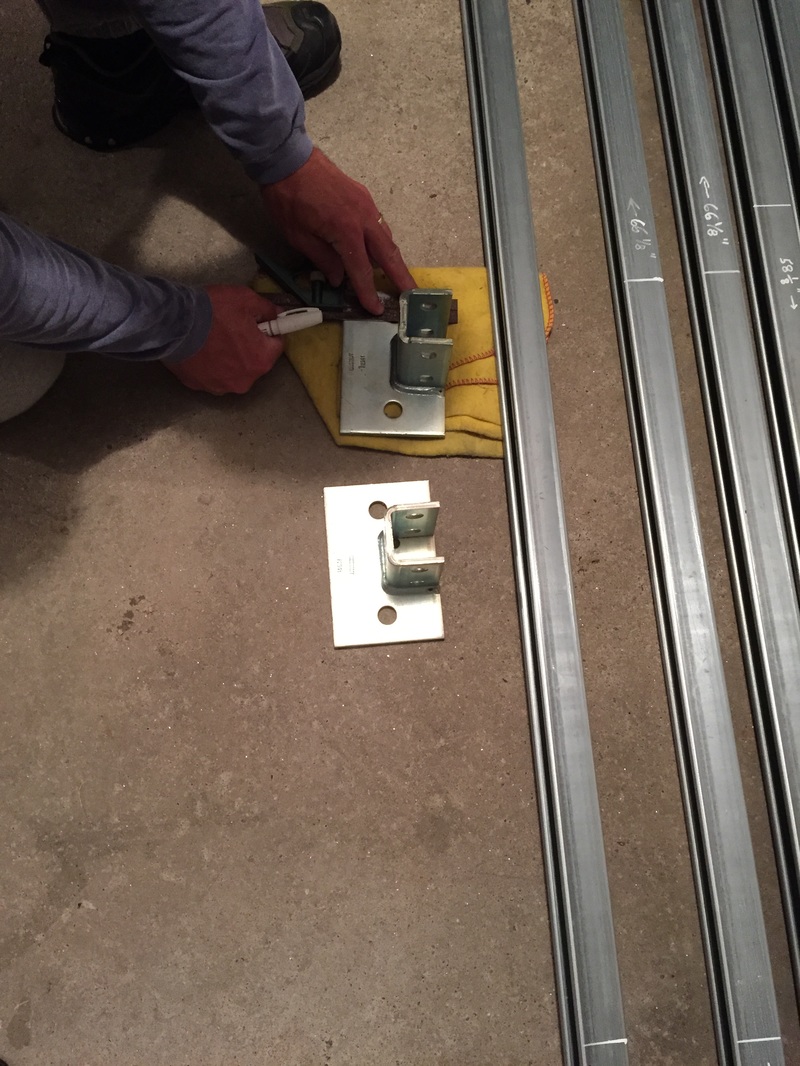
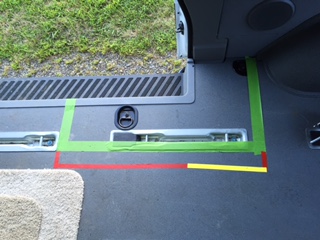
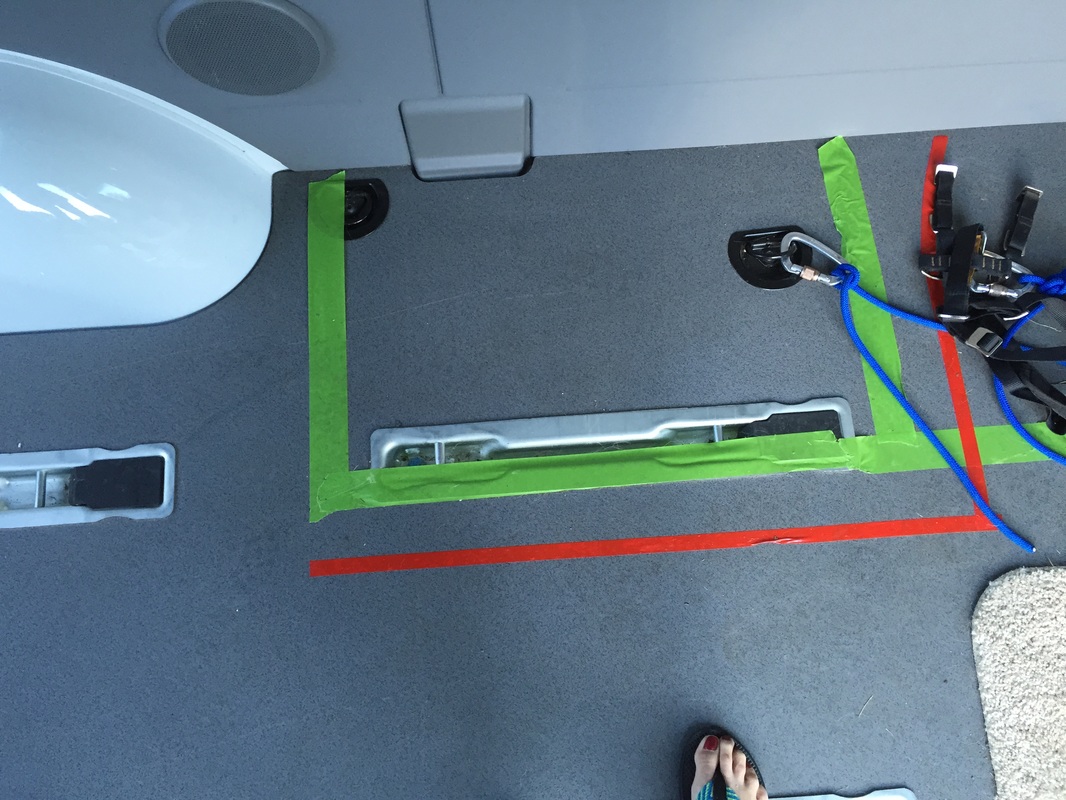
Between measuring twice/cutting once and multiple versions of drawings and revisions, we successfully installed the steel platform for our bed in a little under 3 hours this afternoon. 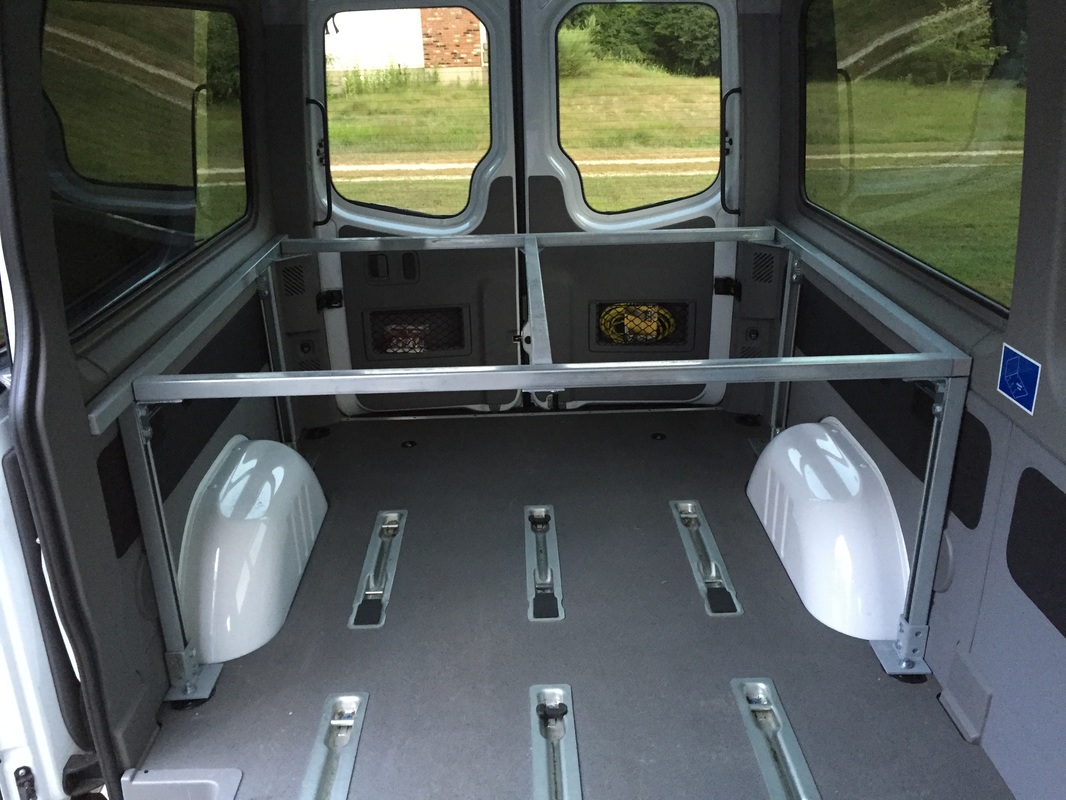 Step 1 : Insert legs into base plates and attach base plates (with LOTS of washers) into d-ring holes in the floor. A few moments of doubt when it turned out the original bolts were very tight in their fittings. Patience paid off an they went in fairly easily
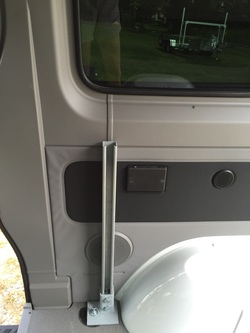
Step 2 : Attach side rails into the sides of the van using the hole that used to attach the rear seat to the side of the van. This one was a bit tricky as the bolt needed to be fished inside the channel and then tightened in the c-channel gap. A few washers helped to push the bolt head into proper positions
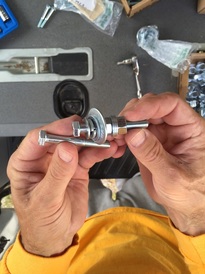
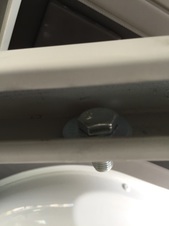
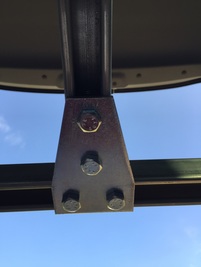
Step 3: Attach legs to top of platform. 16 bolts later this was done. The b-line system is awesome. It consists of c-channels that you join together with fittings using spring nuts and bolts. Once we realized the bolts were rounded on one edge for easy turning this went along quickly. 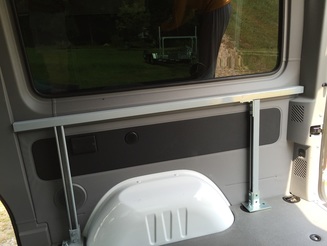 Step 4: Attach front and rear rails. Again, just inserting nuts into the channel and tightening bolts
Step 5: Attach center support. Done
Step 6: Attach cabinet brackets. This was premature but we wanted to see where the holes would hit the cabinets to avoid drawer slides 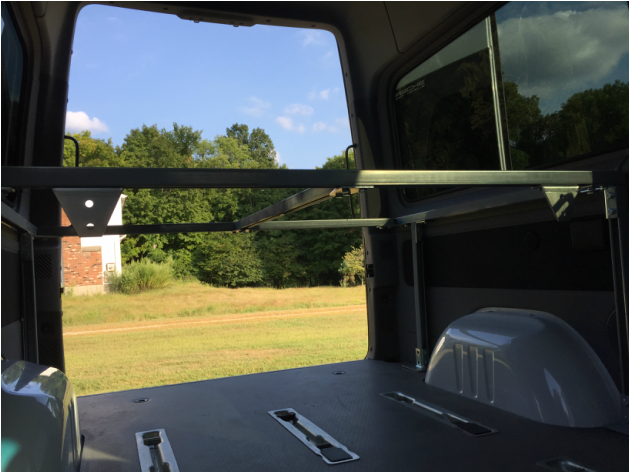 Up Next: Creating a Foundation for the Bed
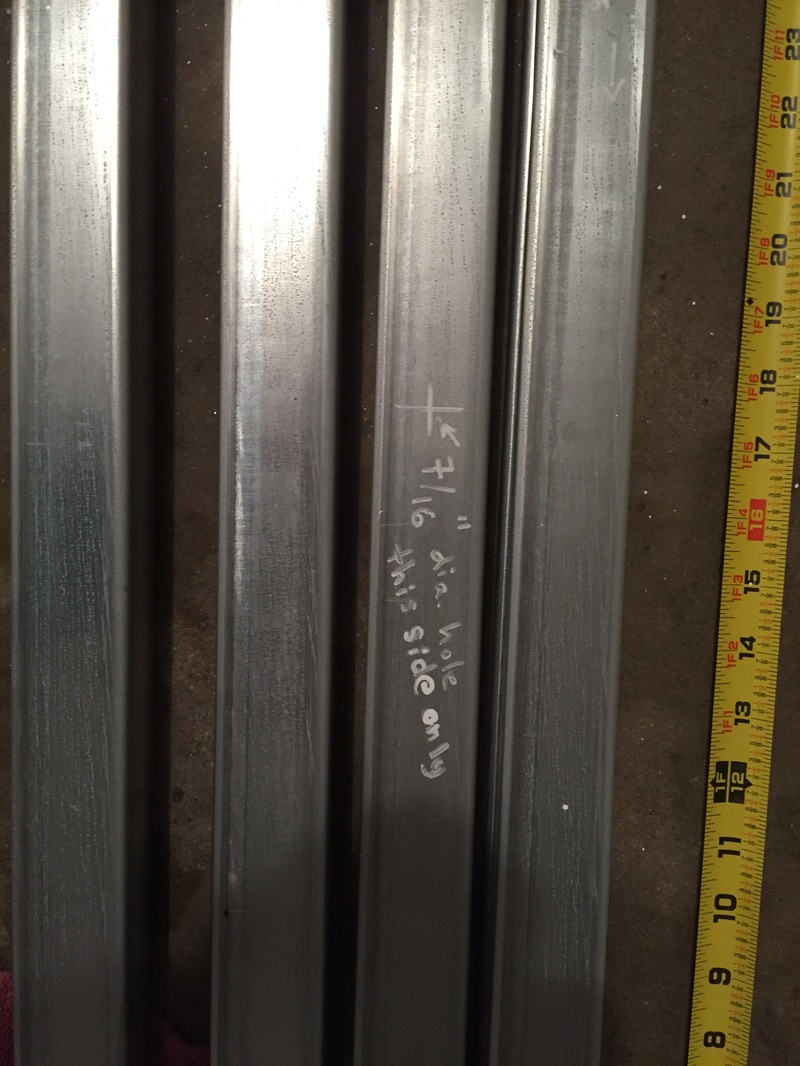
The morning started with a trip to another cabinet maker. Some new ideas emerged and we have to review both proposals and come up with a winner. Pretty exciting! We've checked all of our measurements inside the van and so it's time to mark the pieces that need to be cut. We'll be using 1-5/8" B-line c-channels for the platform top and legs. The channel comes in 10' lengths and so we're taking it to a local steel shop to have it cut. This was another chance for team work. Using a tape measure, t-square and white paint pen we measured, marked and measured again. We'll end up with 5 channels for the top plus 4 legs. We also need to have 2 of the base plates trimmed slightly so that they can be up against the wheel wells. New stronger magnets arrived today so more measuring on tap for the am followed by a trip to the fabric stores for platform cover and curtain materials.  1"x 1/4" x 1/4" Bars/Blocks - Neodymium Rare Earth Magnet
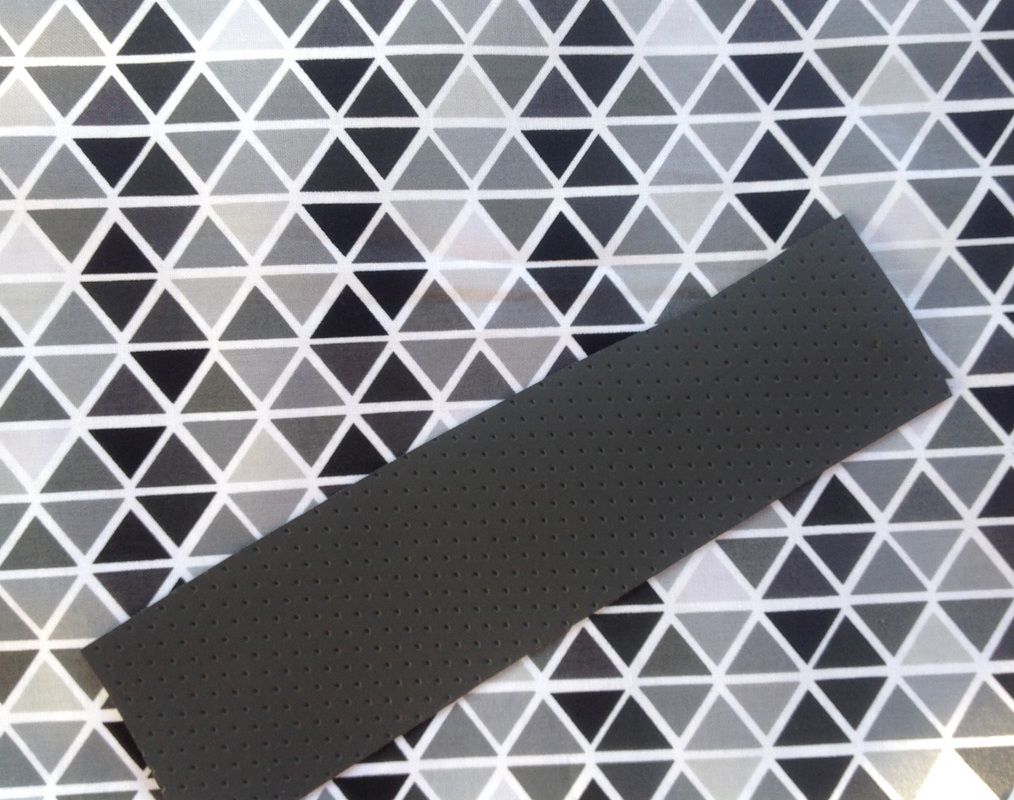
Took a break today to shop for fabric for our home away from home. Last week I worked on a cover for the front window shade and a magnetic cover for one of the metal doors. The case turned out great but the window covering needs some help--the magnets aren't strong enough and the fabric is blah.
Today I took a trip to the fabric store to look for other options. We need vinyl to cover the bed frame & platform" |


 |  |
Back to ArcSite for a simple floor plan before we move on to CAD Drawings
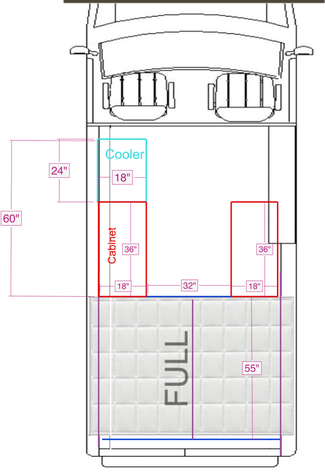
A trip to the west coast including a climb with a friend who has a camper van and suddenly we realize that our design uses all the floor space and leaves little room for storage. So, it's back to the drawing board (using ArcSite on my iPad) to start again
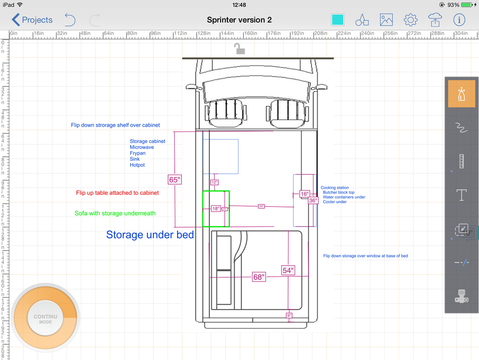
What's different:
What we gave up:
- Bed is now a platform that runs across the van in the back on a platform that provides space for storage underneath.
- We replaced the cabinets on the passenger side with a cabinet that will cover part of the slider and allow us to cook inside when the weather is bad.
- We moved the cooler from behind the passenger seat to the driver side between the sink cabinet and the bed
- There's now space for a table inside for dining.
What we gave up:
- The ability to walk from front to back inside the van.
- Using the furniture we already purchased - hello to a new guest bed and some storage for the climbing room
Of course, there's a version 3 that removes the sink idea because it just takes up too much space. Time to really do some design specifics
Author
We're a Connecticut couple that retired early so we can see our kids, grandkids and the world. We purchased a 2015 144" High Roof Sprinter Passenger Van and we're converting it ourselves into a camper.
Archives
June 2016
October 2015
September 2015
August 2015
July 2015
June 2015
Categories
All
Cabinets
Design
Platform Bed
Sprinter DIY
Window Treatments
 RSS Feed
