|
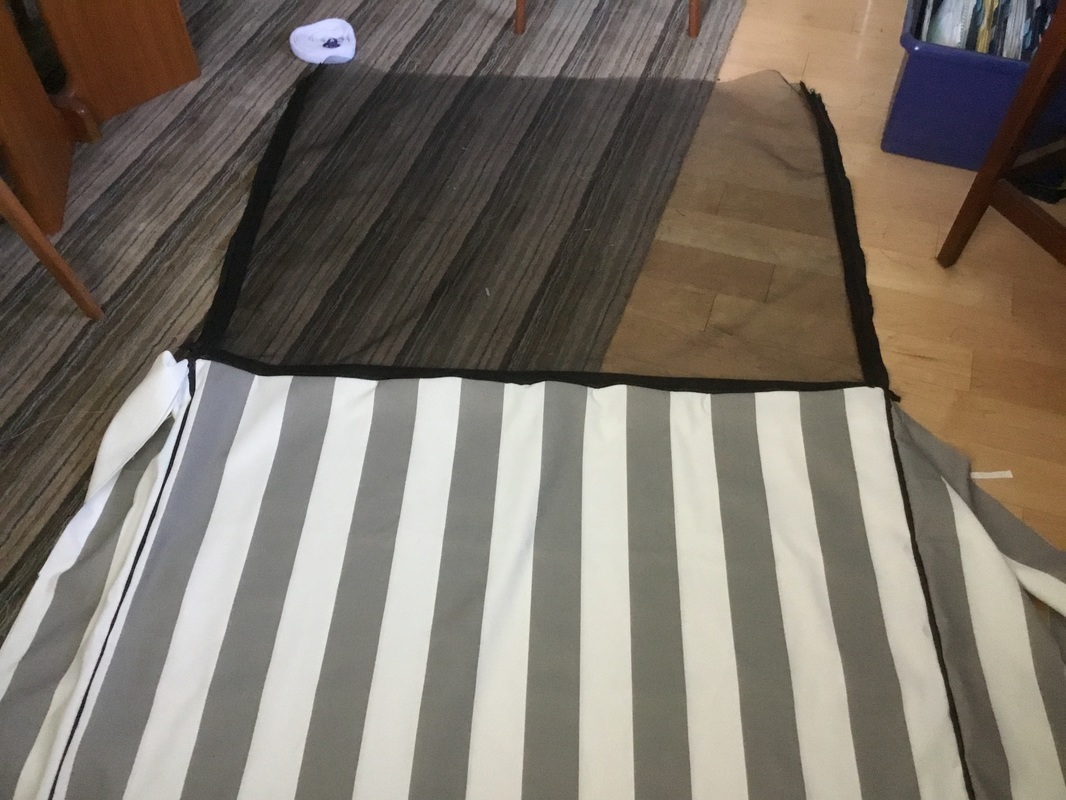
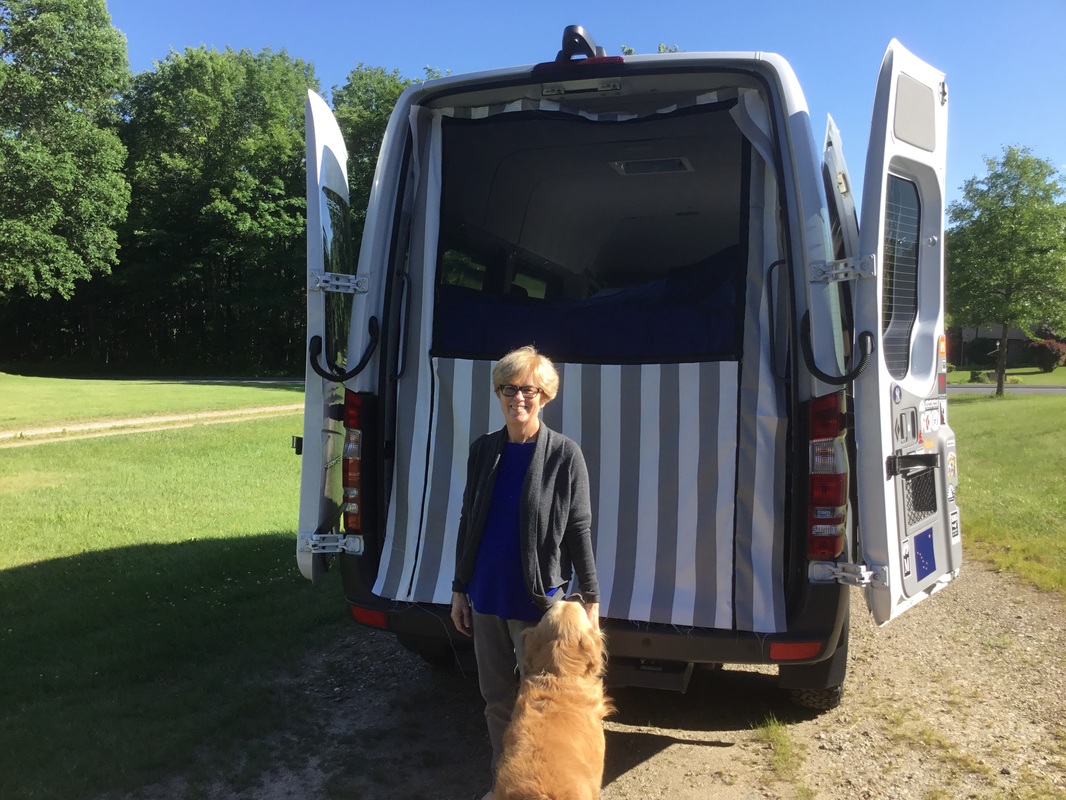
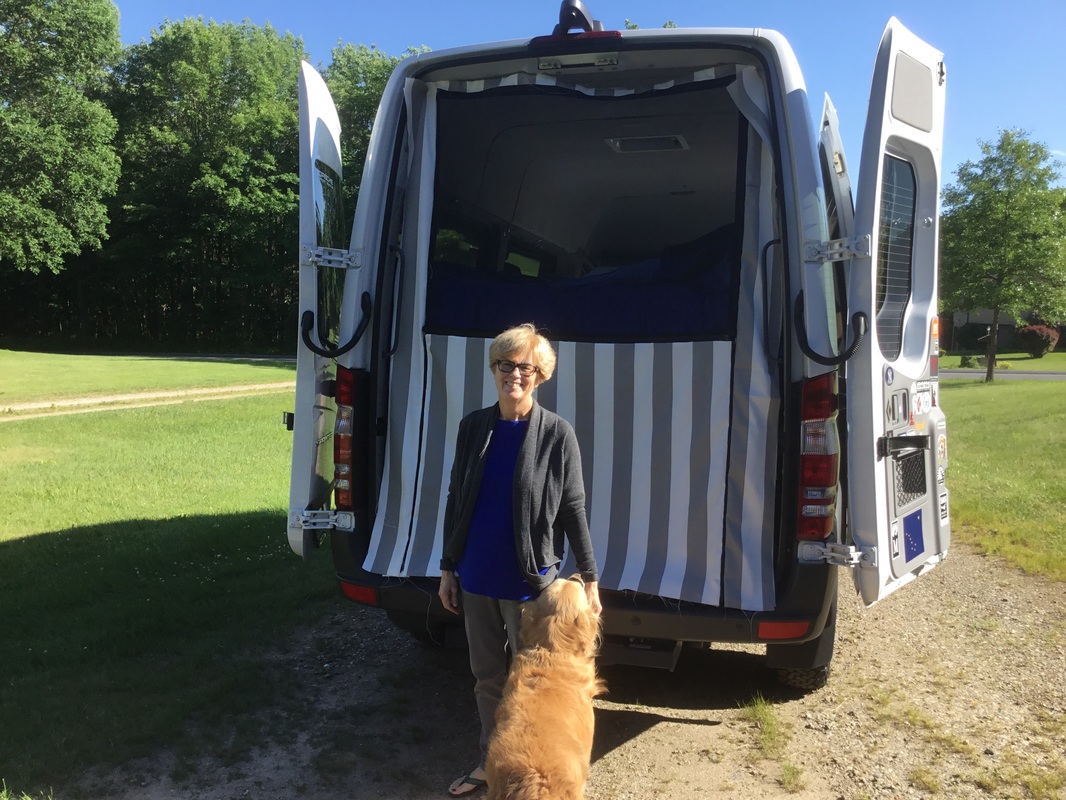
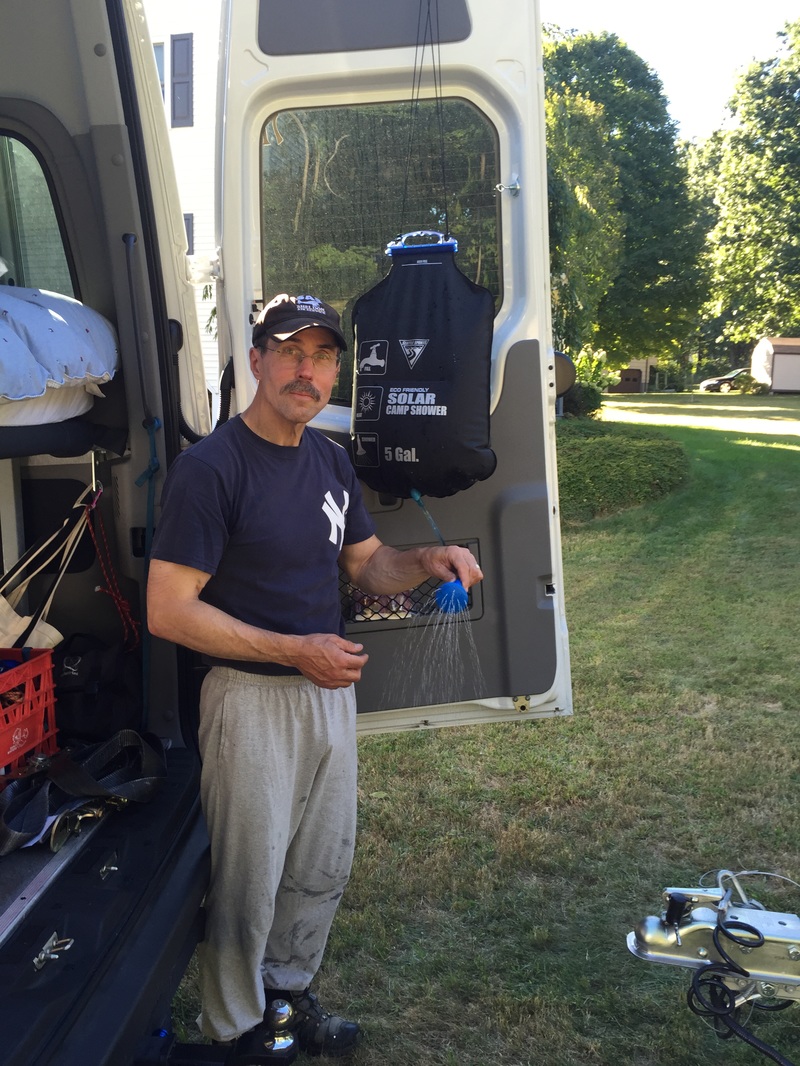
Since we're plan to head to the Northwest in the summertime, we need some heavy duty solutions for keeping the bugs at bay. Design Elements:
1 Comment
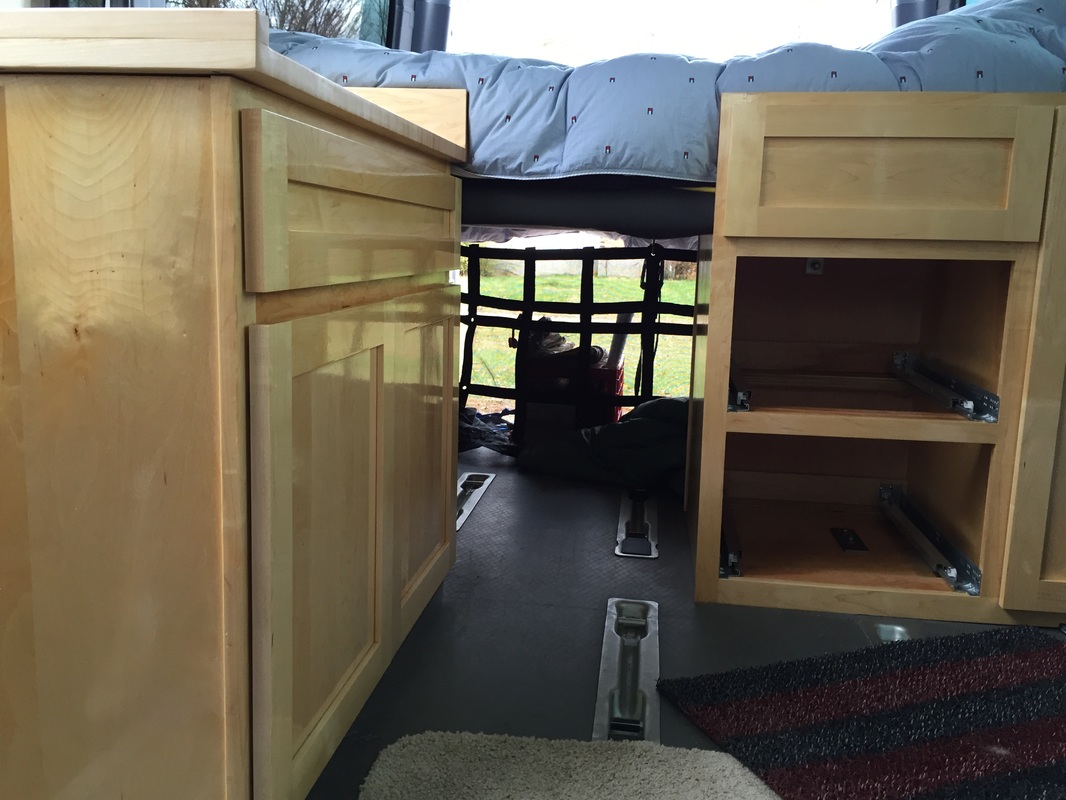
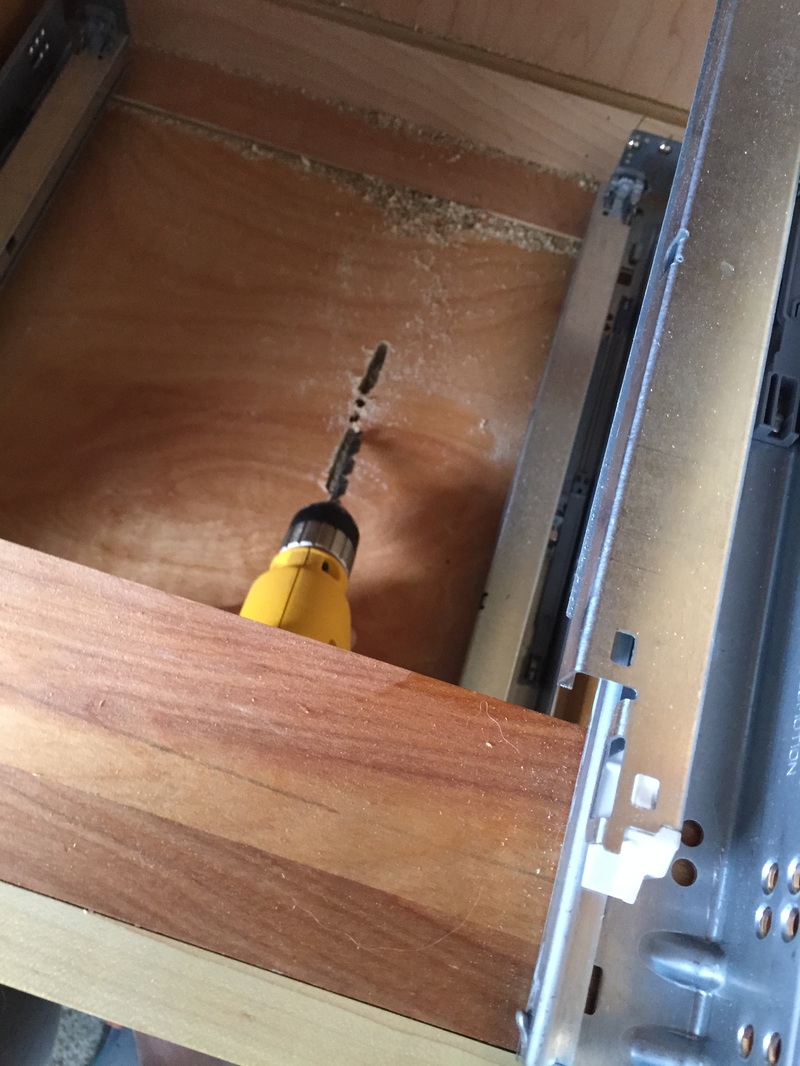
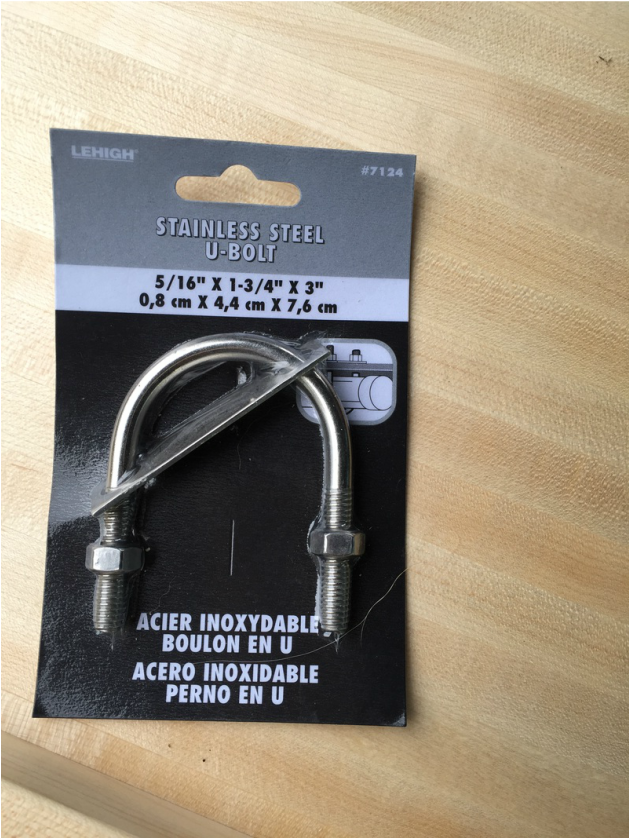
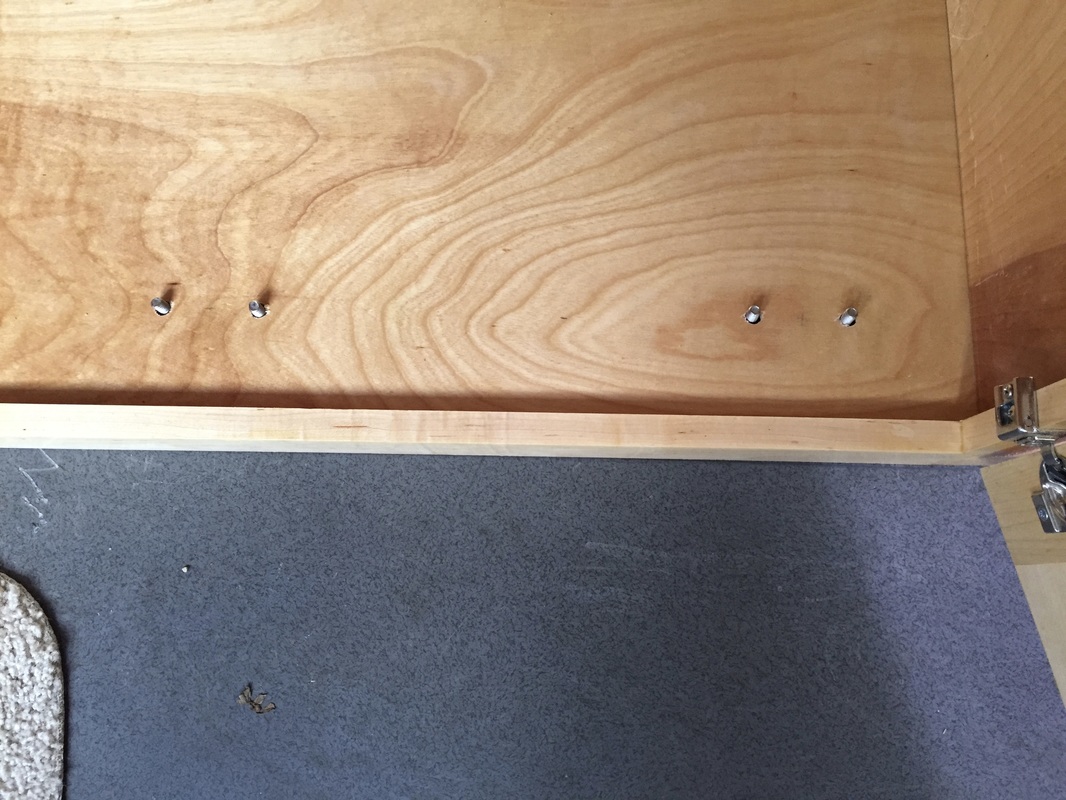
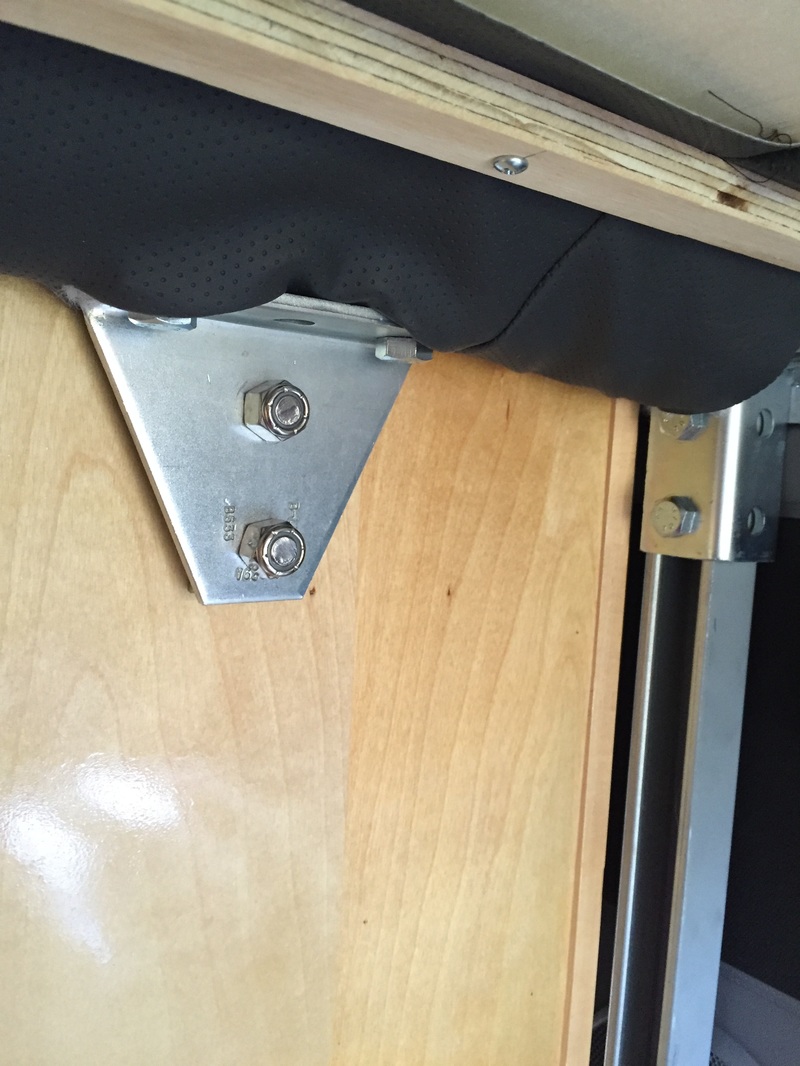
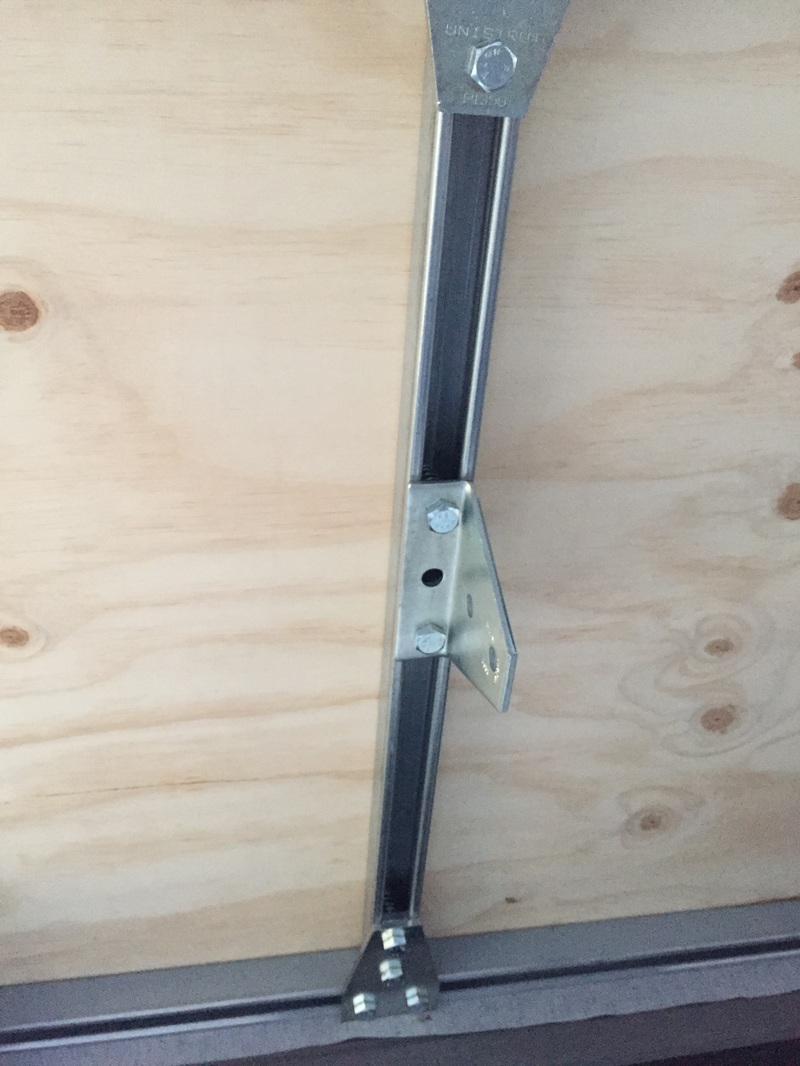
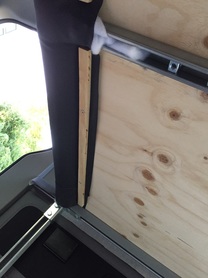
It took two long days but both cabinets are finally installed. Each on is attached to the seat brackets on the floor using U-bolts as well as to the bed platform using more Unistrut brackets. Cabinet 1 - aka the clothing cabinet. I'm grateful that we decided to move this cabinet to under the bed and free up the space in front of the bed for dining. An added bonus to this cabinet is a extended front with a door that opens to reveal a space above the wheel. It will provide storage for the curtains and shades when they aren't in use Step 1: Create a channel in the base of the cabinet that will allow us to fish the ubolt around the seat bracket and thus secure the cabinet to the floor
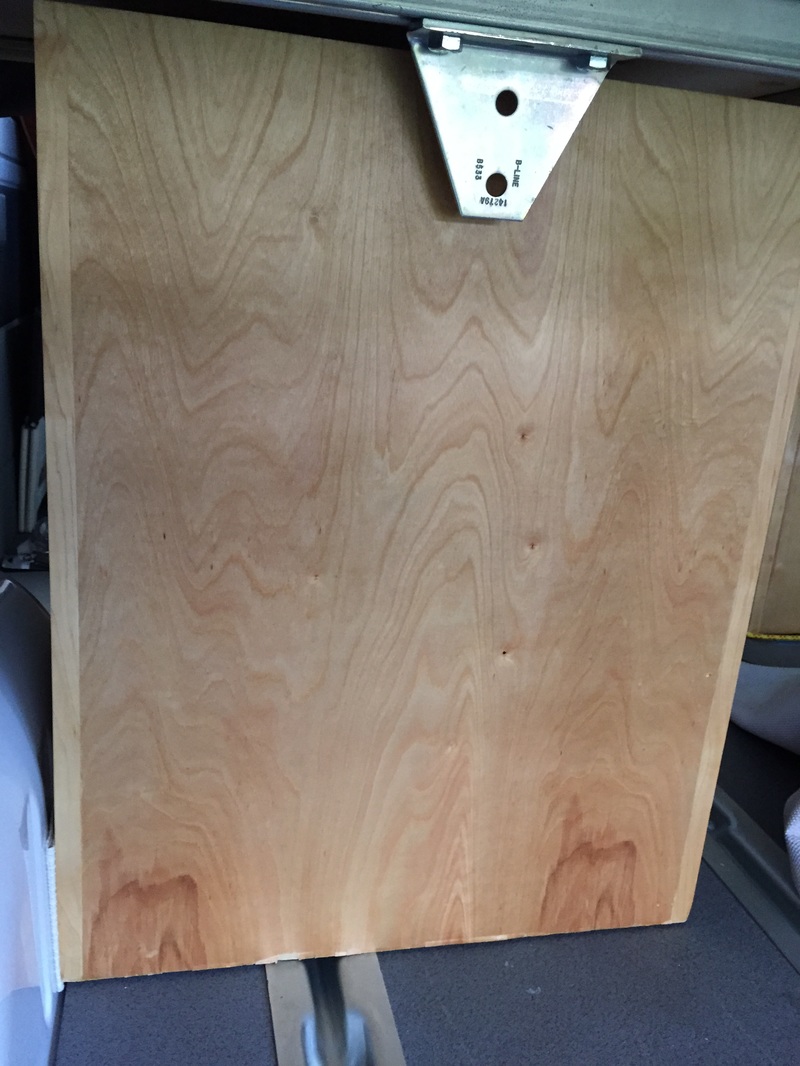
Step 2: Drill holes through the back of cabinet to secure cabinet to the platform. Some adjustments needed to be made to the rear straps to allow them to be attached to the rear of the cabinet
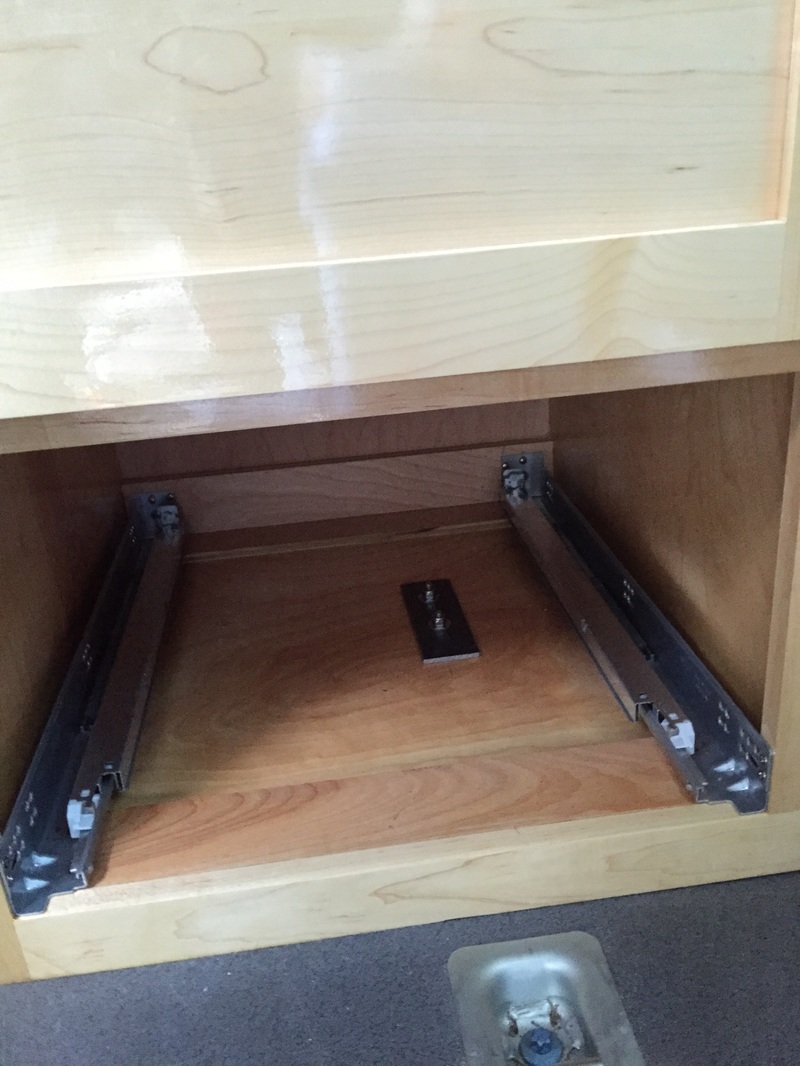
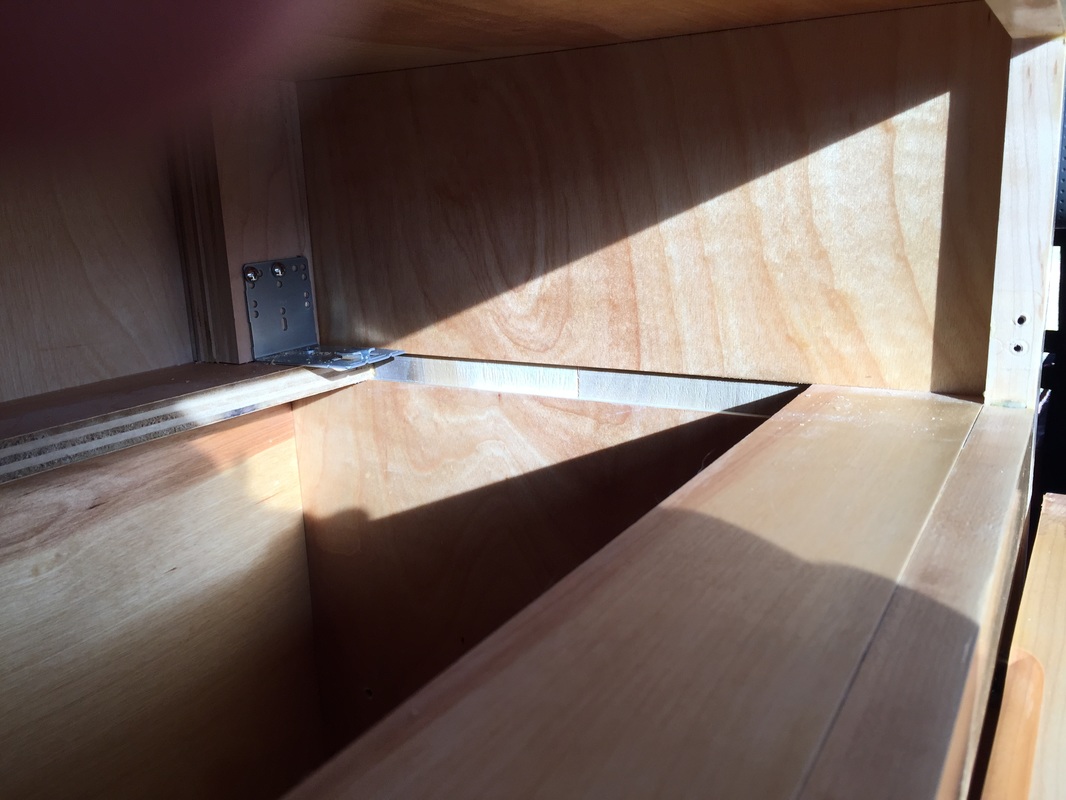
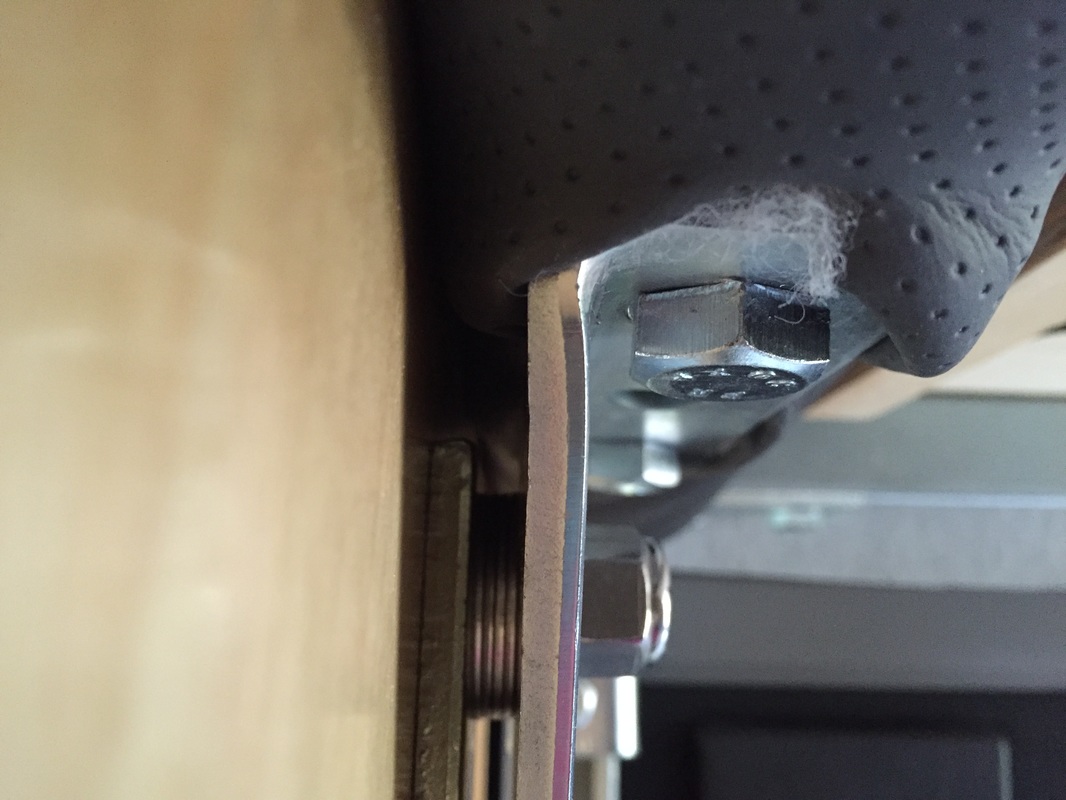
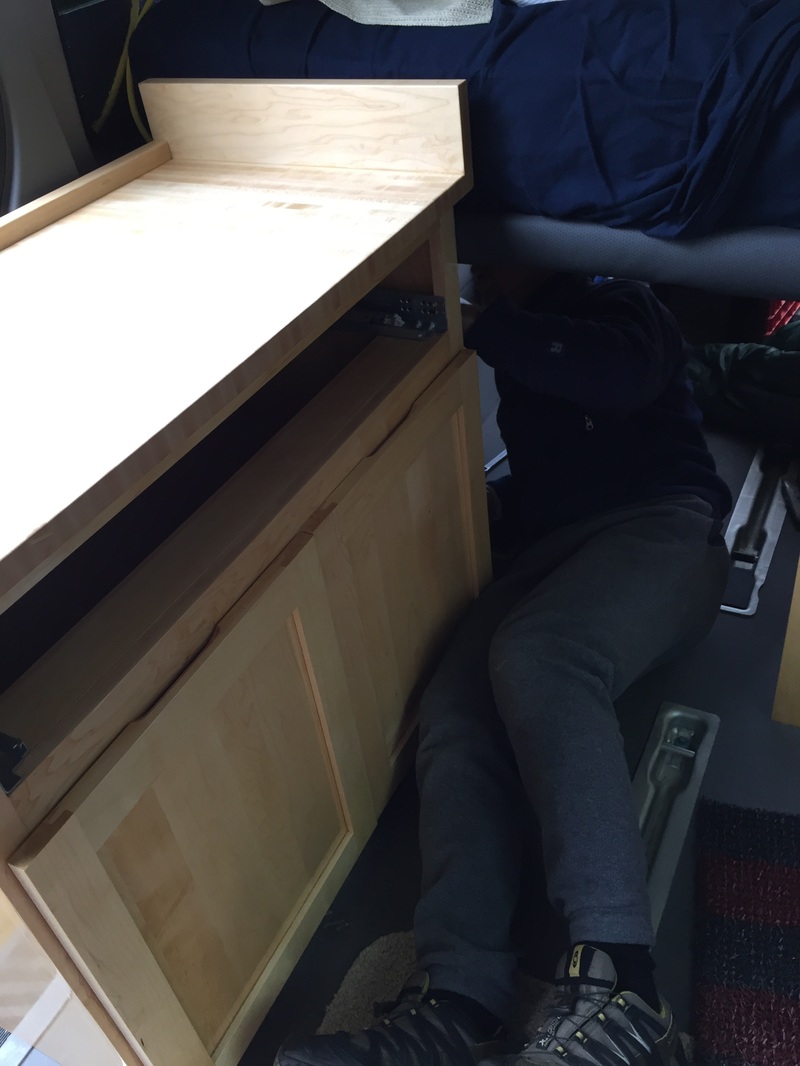
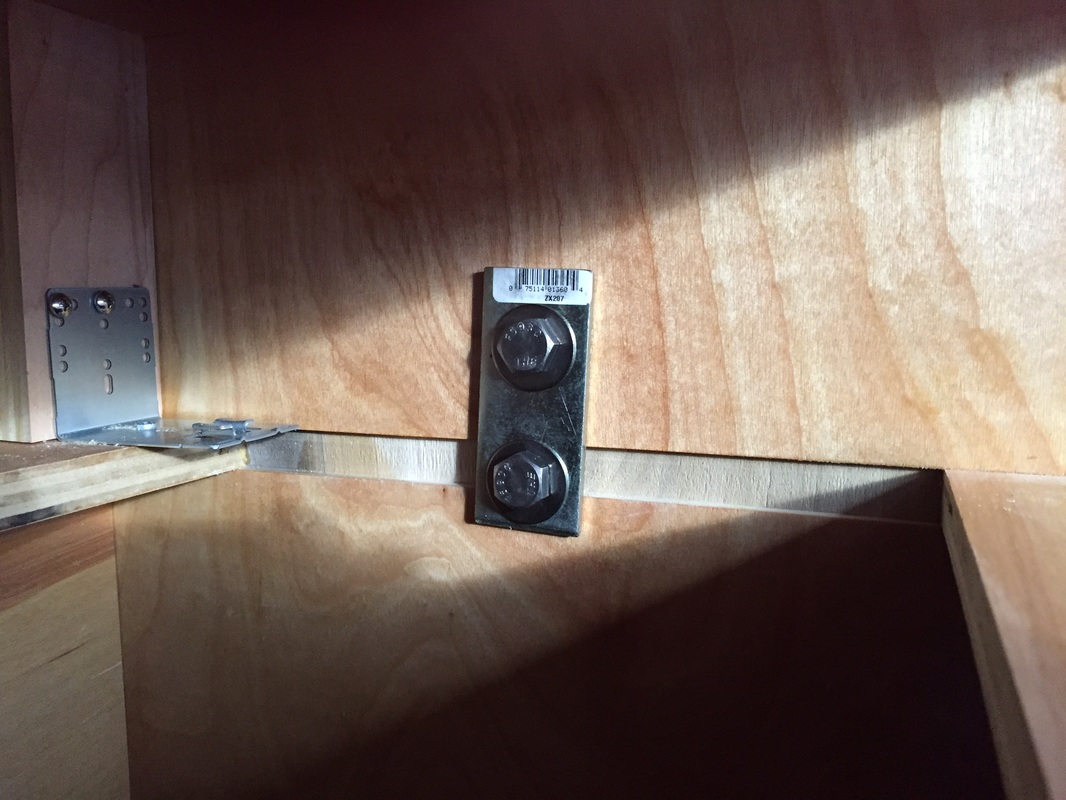
Cabinet 2 : aka the kitchen cabinet By choosing a local contractor (John Ortiz -TON Custom Cabinetry, we regained 5 inches in the drawer width along with a butcher block top Step 1: Place cabinet in final location and mark edges of cabinet on floor. We added some cushioning between the cabinet and the leg of the bed platform to help with rattling Step 2: Measure location of holes for U-bolts. Because we could lift up this cabinet, we were able to drill four holes into the base of the cabinet and, using a stack of stakes to hold the cabinet off the floor, reach underneath to position the U-bolts into their holes. Only about 10 tries and we were successful. The bolts were topped with lock nuts to keep them from scraping things as we moved items in and out of the cabinets
Step 3: We had to make a slice in the vinyl that was covering the bed platform in order to slip in the bracket that attaches the rear of the cabinet to the platform. After drilling two holes we were about to begin milling the brackets and cutting the door glides when we realized that by reversing the bolt heads to inside the cabinet everything would fit without modifications. Hooray!
 Everything always takes longer than it should. Three more items finished up
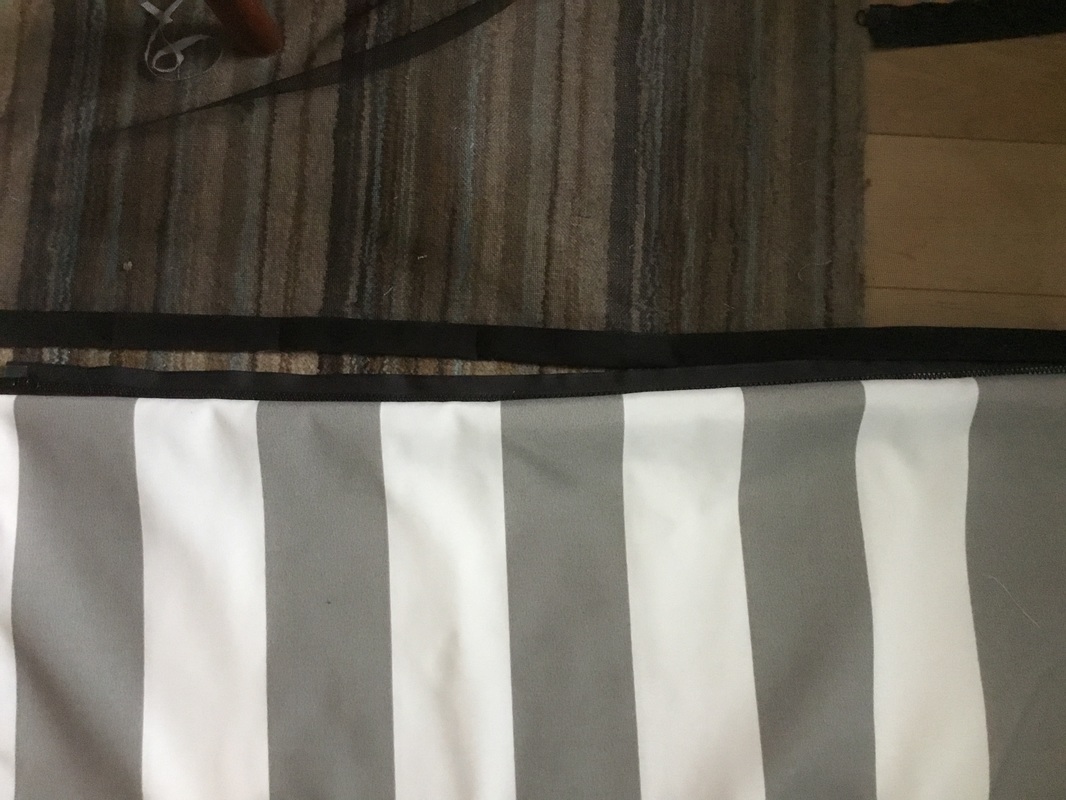
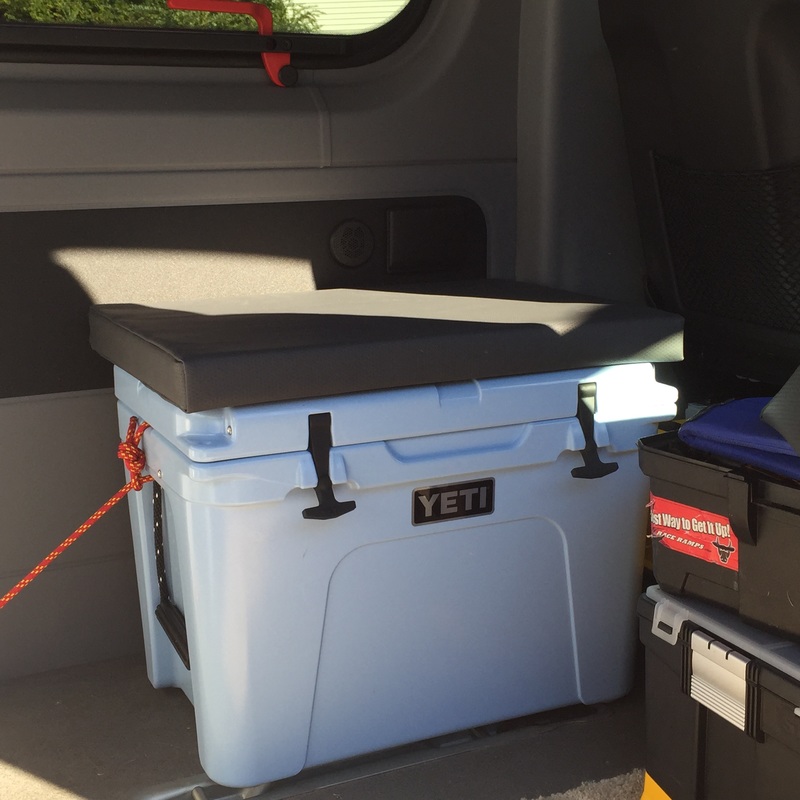
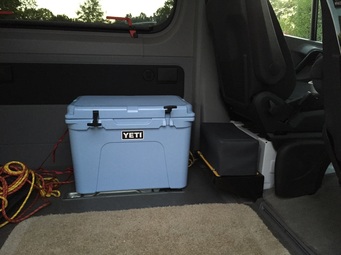
The sear for the cooler took longer than expected because putting a zipper into vinyl is particularly tricky. The finished cushion will serve to create one of our dining chairs. It will be stored between the cooler and the side wall allowing sound to exist from the speaker
Fire extinguisher mounting was a team effort since nuts were under the front passenger seat and supplements the CO detector and smoke detectors. 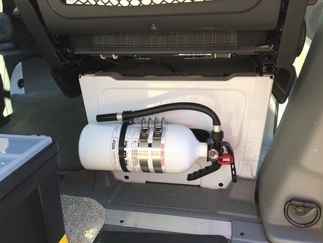 Shower curtain will be mounted across the two back doors
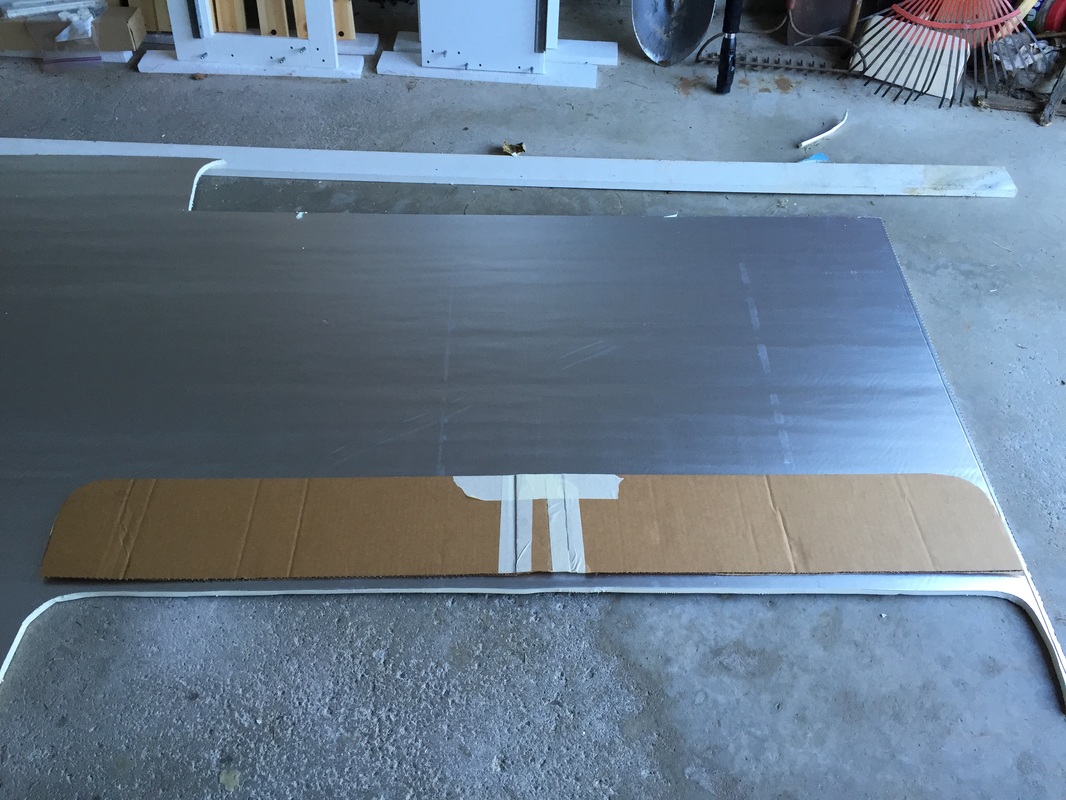
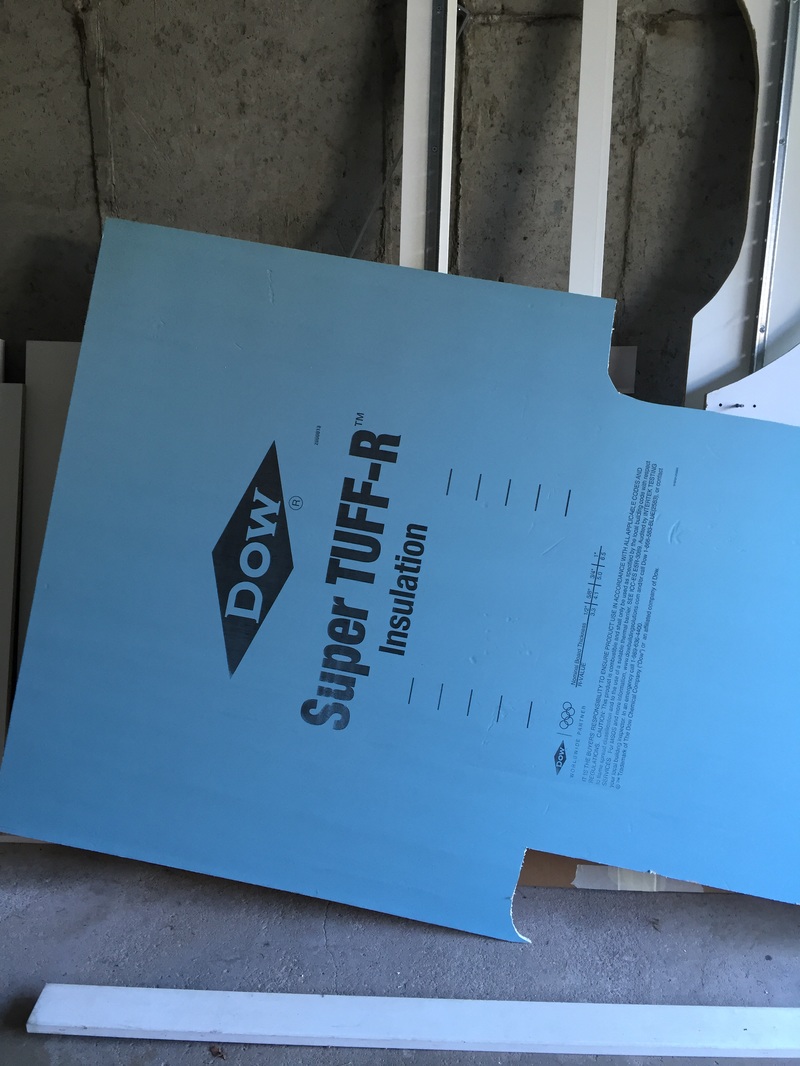
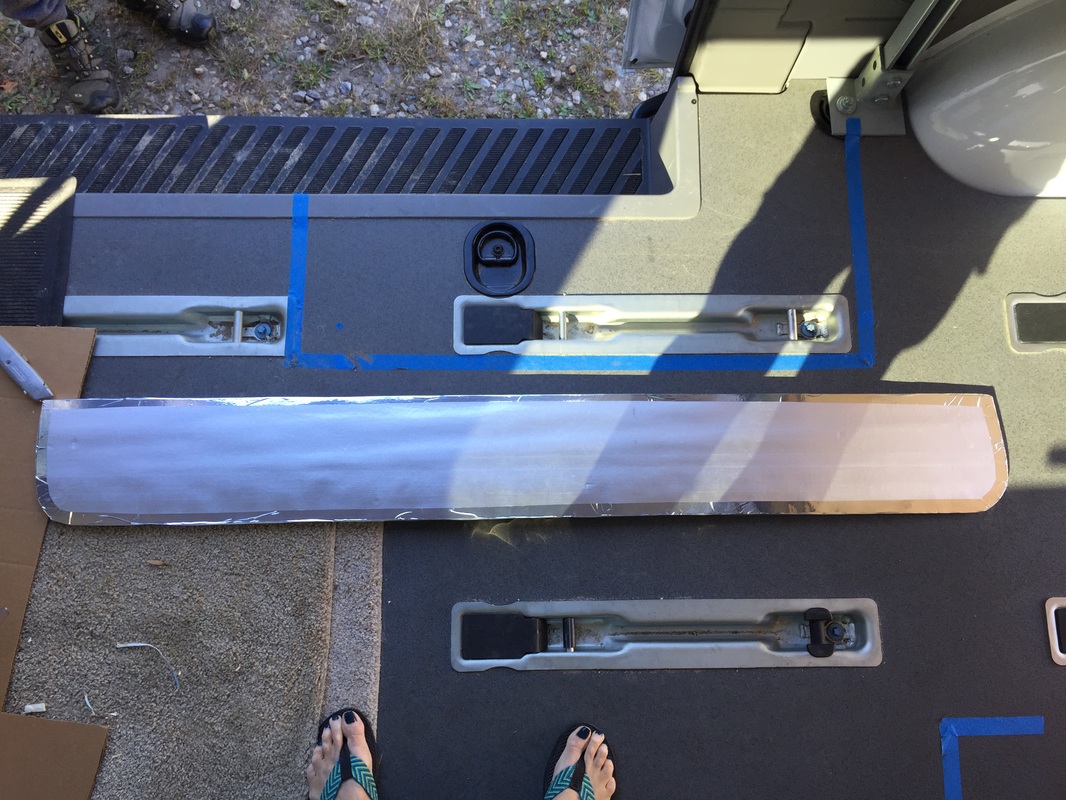
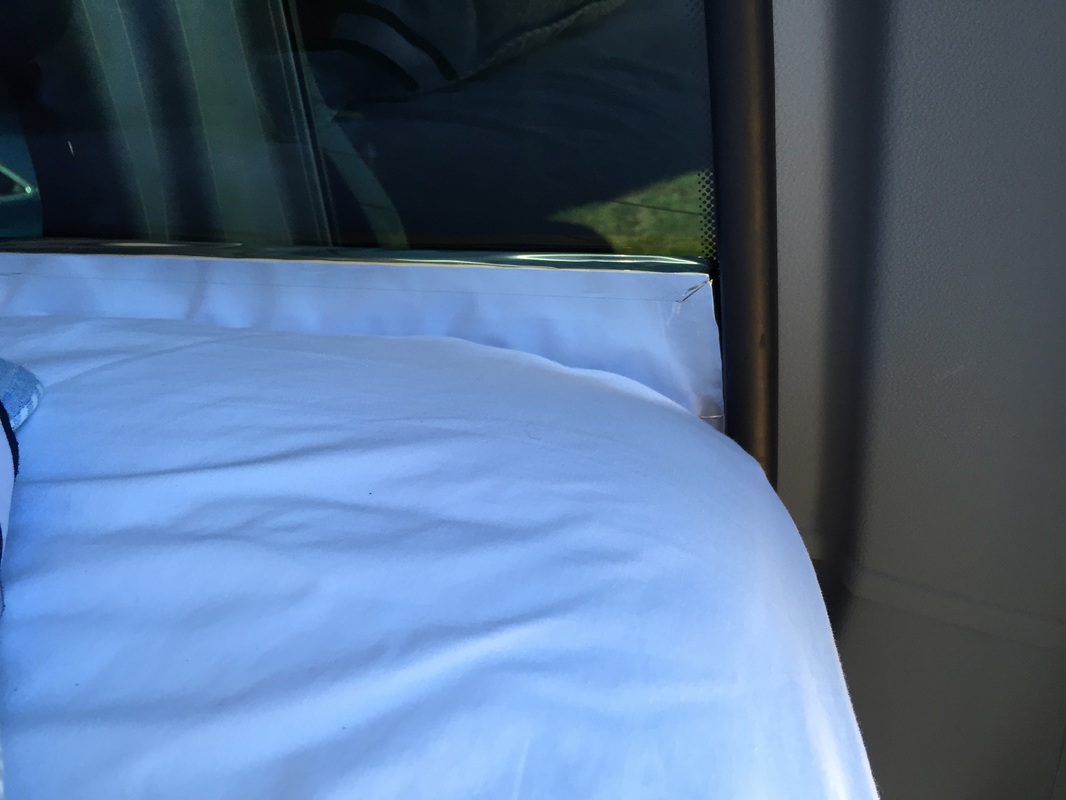
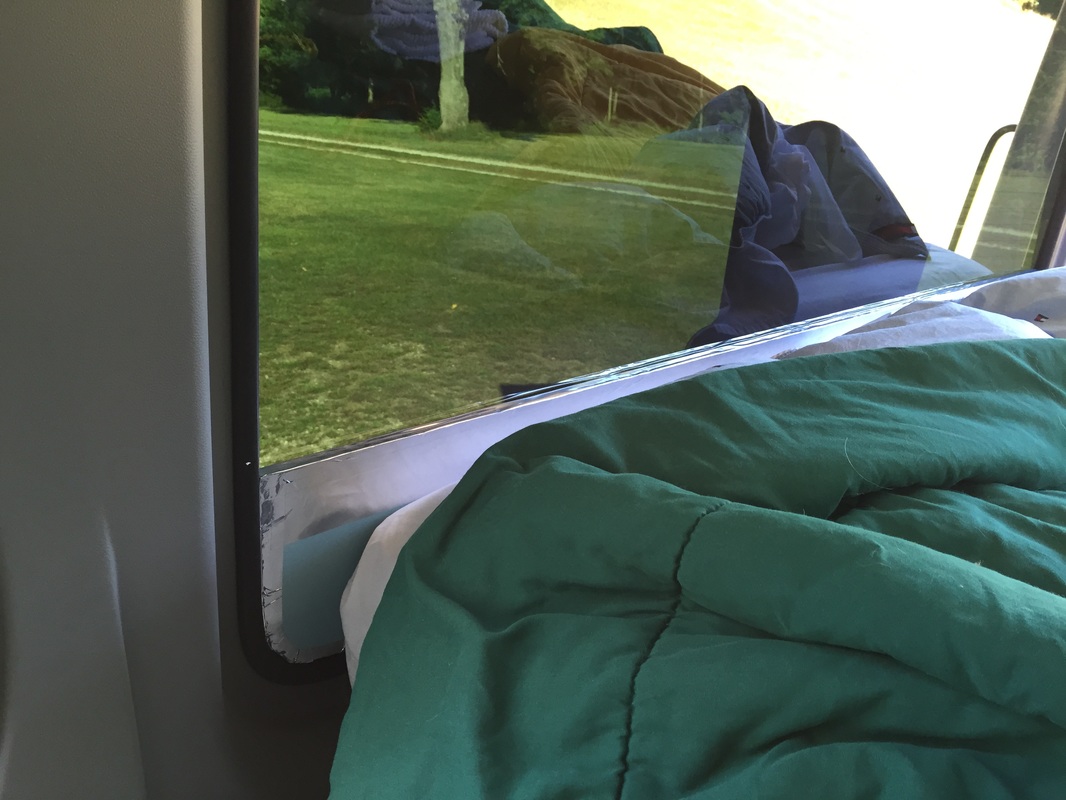
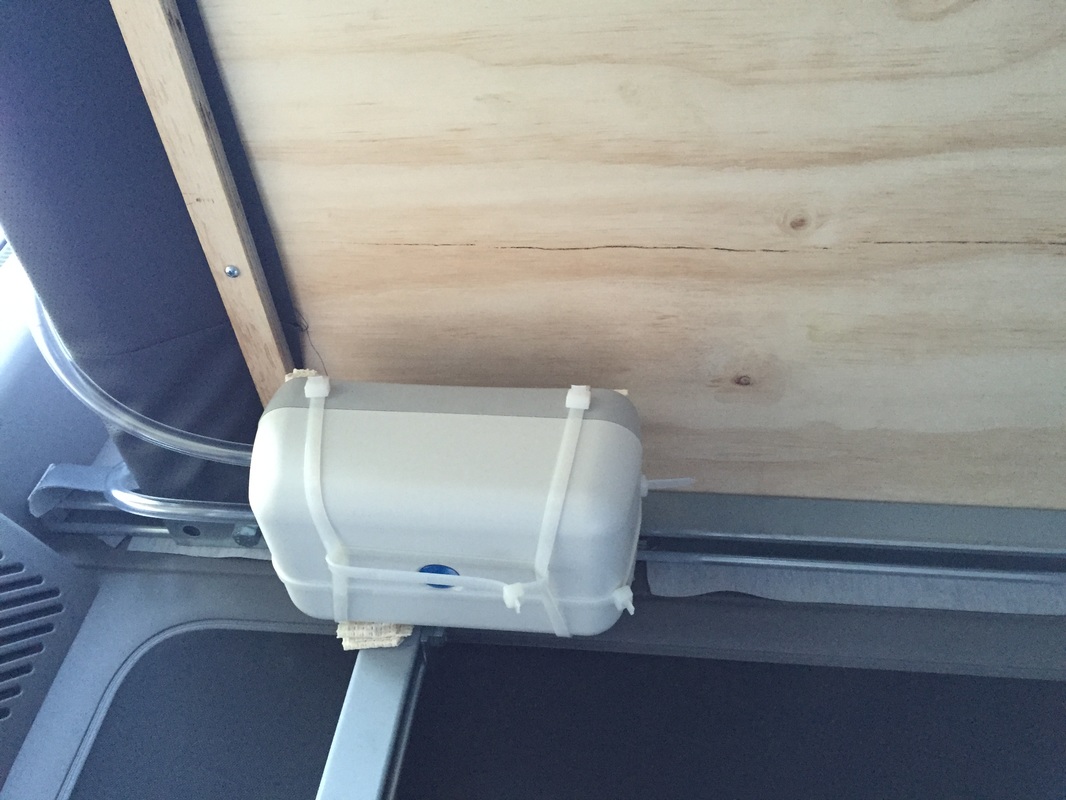
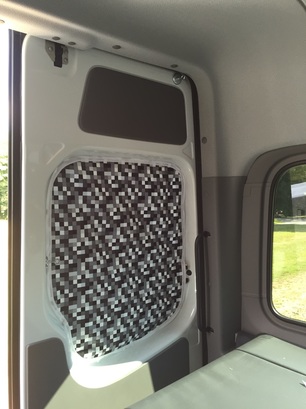
We came up with a workaround for our hot tinted window problems that we hope will work. Mark found silvered foam core board. After constructing a cardboard template, we cut it to fit the bottom of each of the side rear windows and covered it with silver tape. Will have to wait to see if it works. The third of six window coverings is also done so now we have 3 magnetic curtains for the doors. 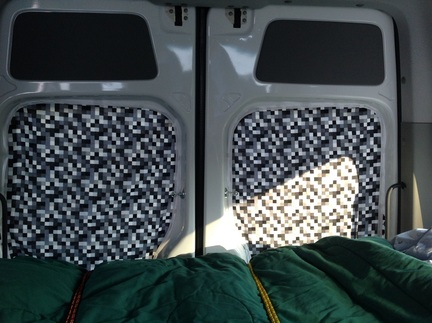 The mattress pump is now secured under the platform with zip ties and the cross beam that will secure the underbed cabinet has been installed.
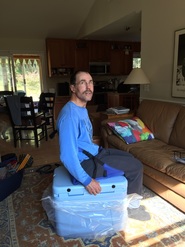
The cooler arrived yesterday and it's great. It will also serve as a seat for dining once I make a cushion for the top. So. it's off to the store again tomorrow to buy foam.
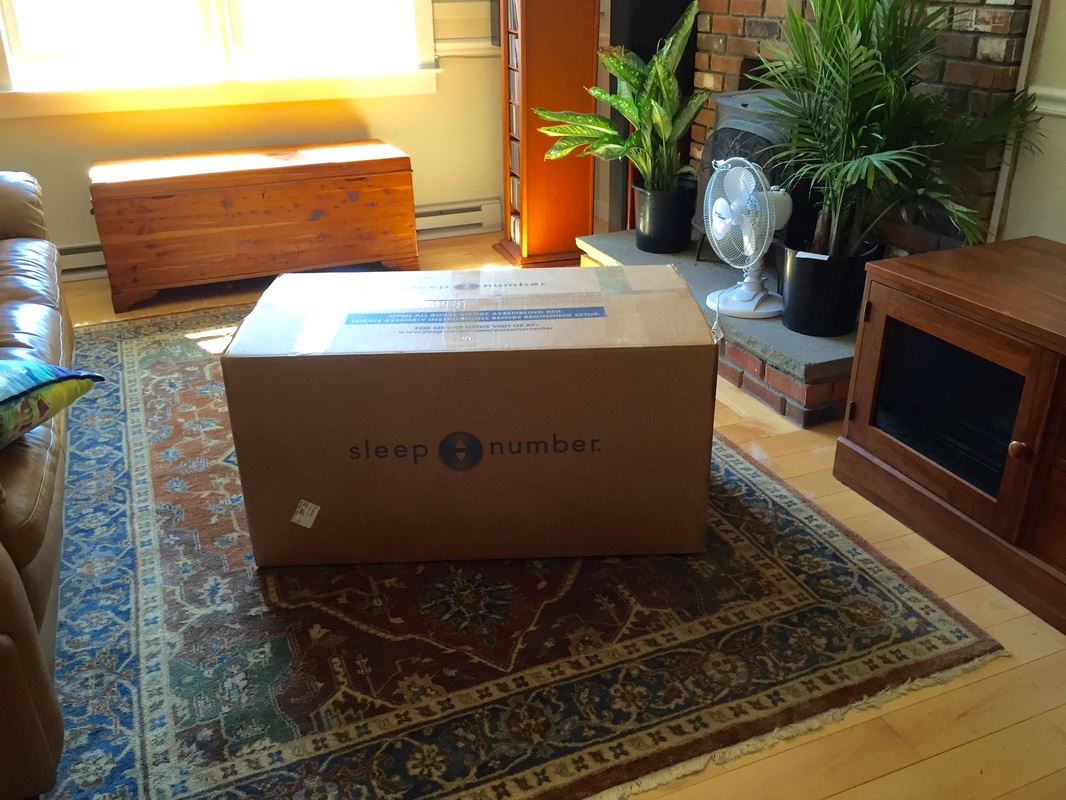
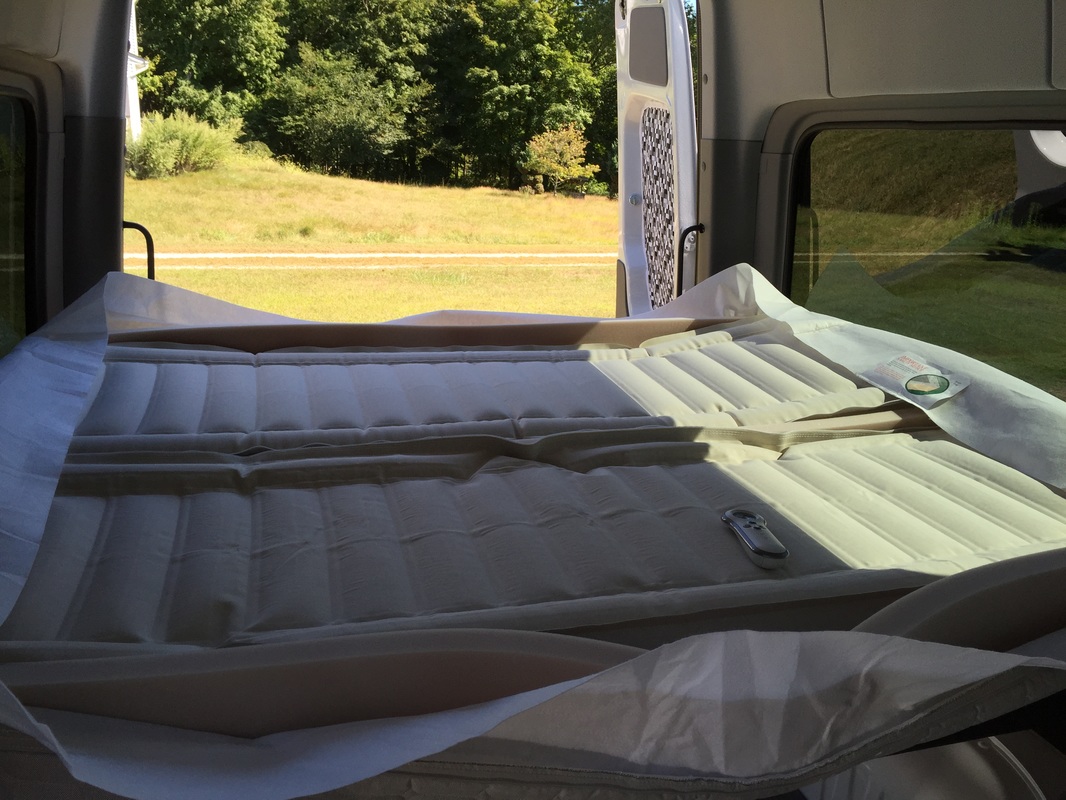
Yesterday our C2 full size dual chamber Sleep Number Mattress arrived via UPS. Since we had already assembled on of these babies, the set up went quite quickly.
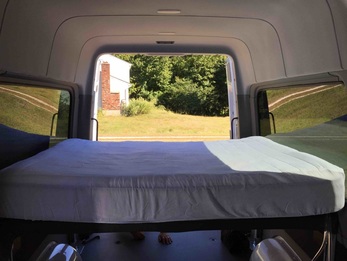 Once assembled and inflated we noticed two "small" challenges
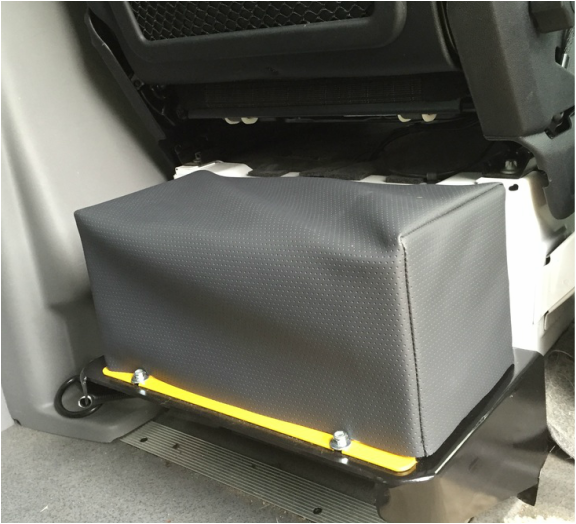
Now what? 1. A visit to the store "those are never included - who told you that" resulted in "free" tubes along with additional endcaps. However, those extension tubes do NOT have a valve that allow you to disconnect the pump while sleeping. So, back to the drawing board with finding some sort of valve that will do the job 2. We stuffed a folded towel between the window and the mattress as a temporary fix. Stay tuned for the work arounds for our two challeges. Meanwhile, we plan to take a small overnight to test the bed. Oh, and until the cabinets arrive, we're using climbing rope to keep the bed attached to the frame while driving. I've been assured that said ropes will be remove for sleeping. 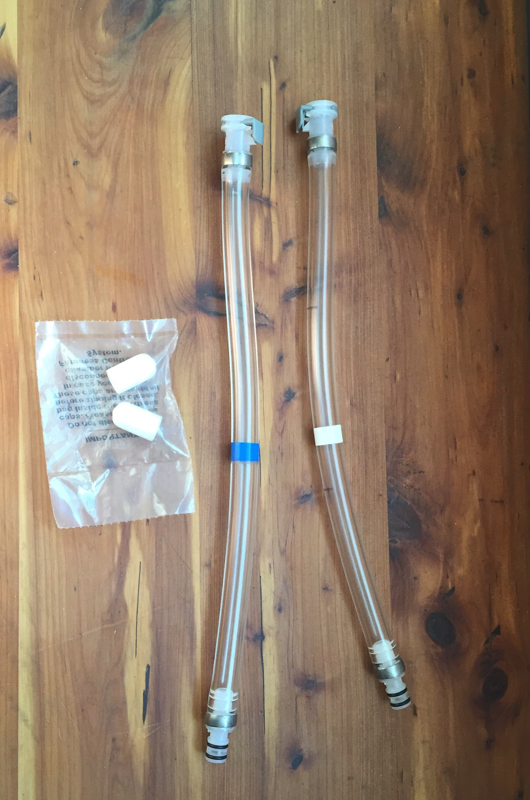 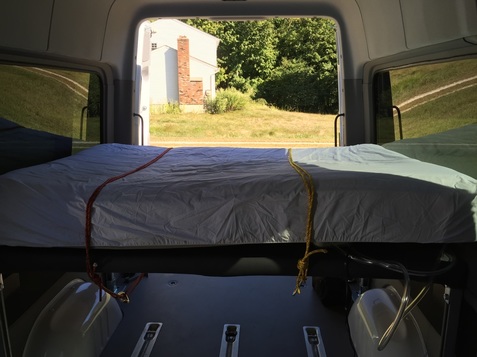 With new design in hand, we met with the cabinet maker (John Ortiz from TON Custom Carpentry )and ordered 2 cabinets. John had lots of good ideas about changes that would maximize the space available and make it easy to attach the cabinets to the seat bolts in the floor as well as to the rails of the bed platform. They're going to be beautiful. Maple with a butcher block top on front of the cooking cabinet. The cooking cabinet will have 1 drawer at the top and two doors at the bottom. The clothing cabinet will have two drawers to the left and a access door on the right. The access door will allow us to store things in the space above the wheel. 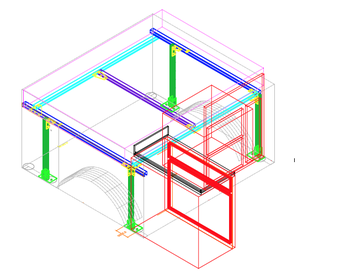 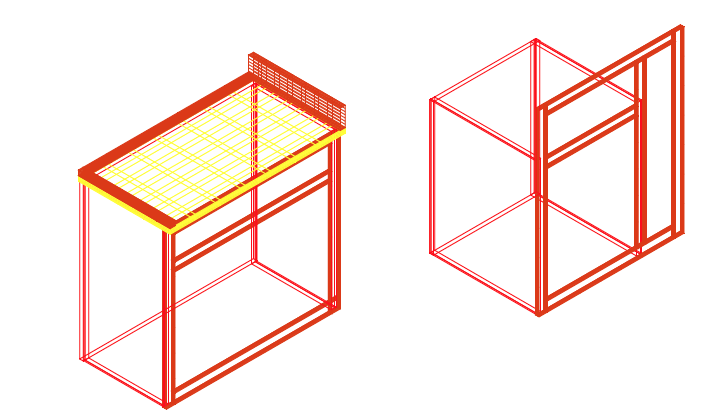 I also solved the problem of keeping a wet dog away from the inverter that sits behind the driver seat. Using some of the leftover vinyl, I made a removable cover.
The rest of the week was spent doing research - as opposed to development.
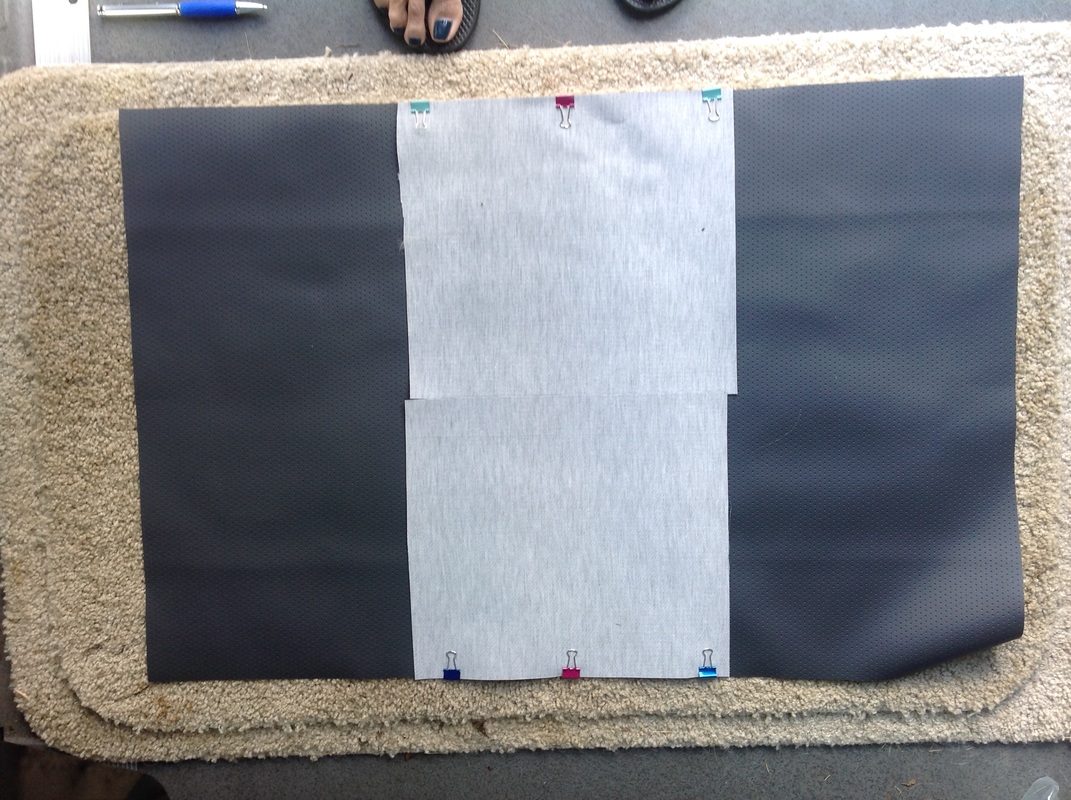
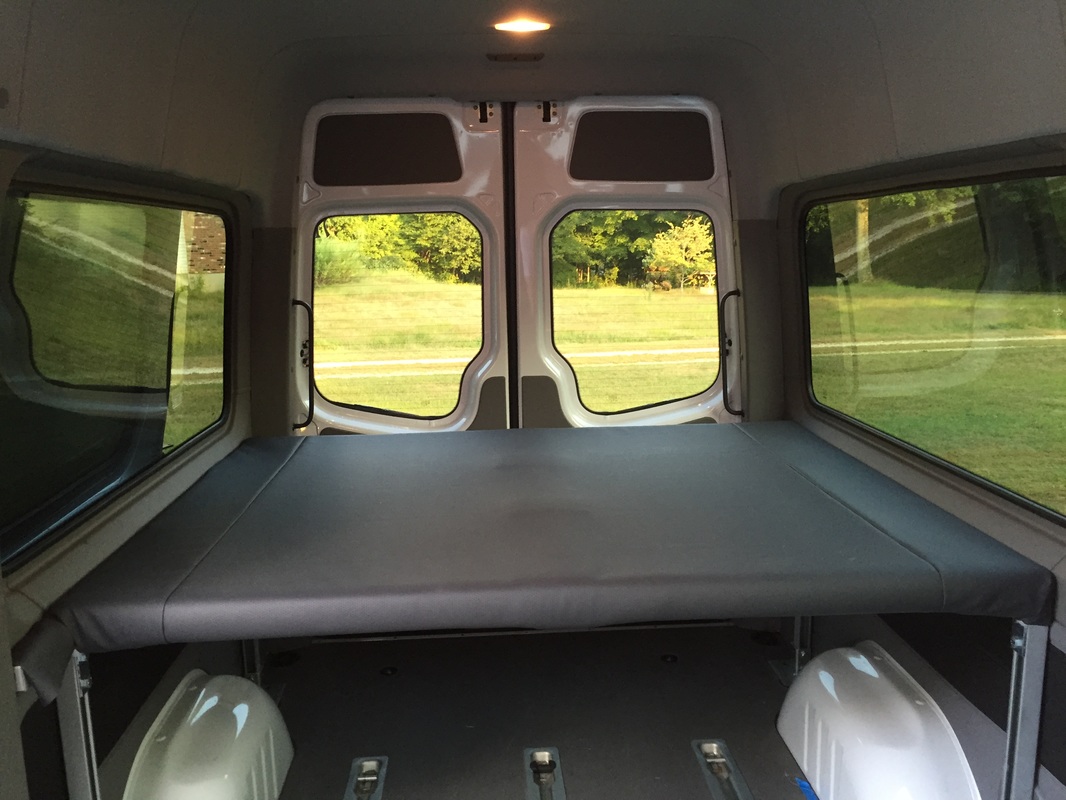
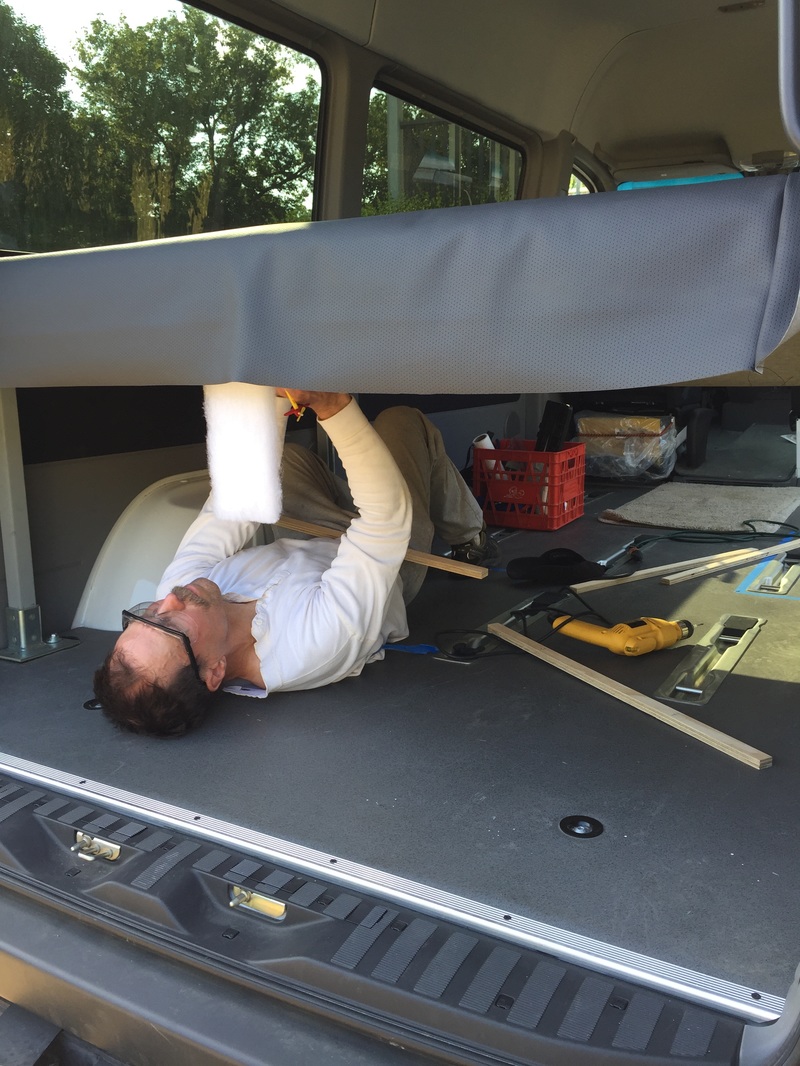
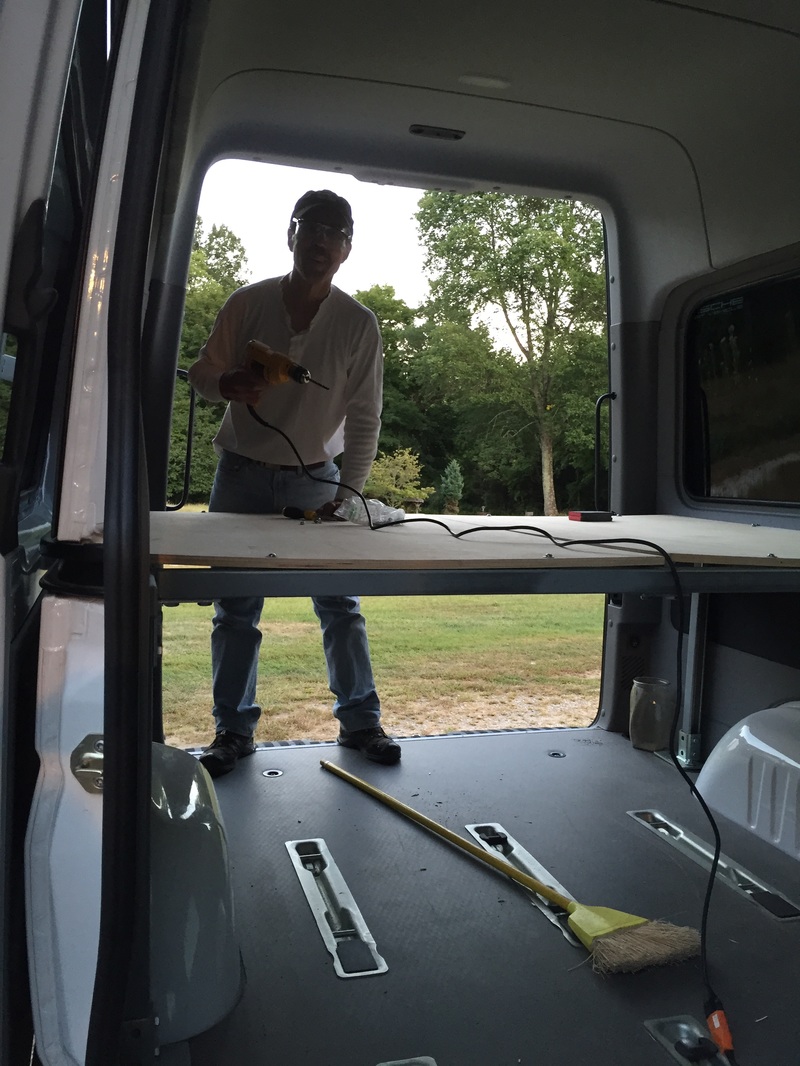
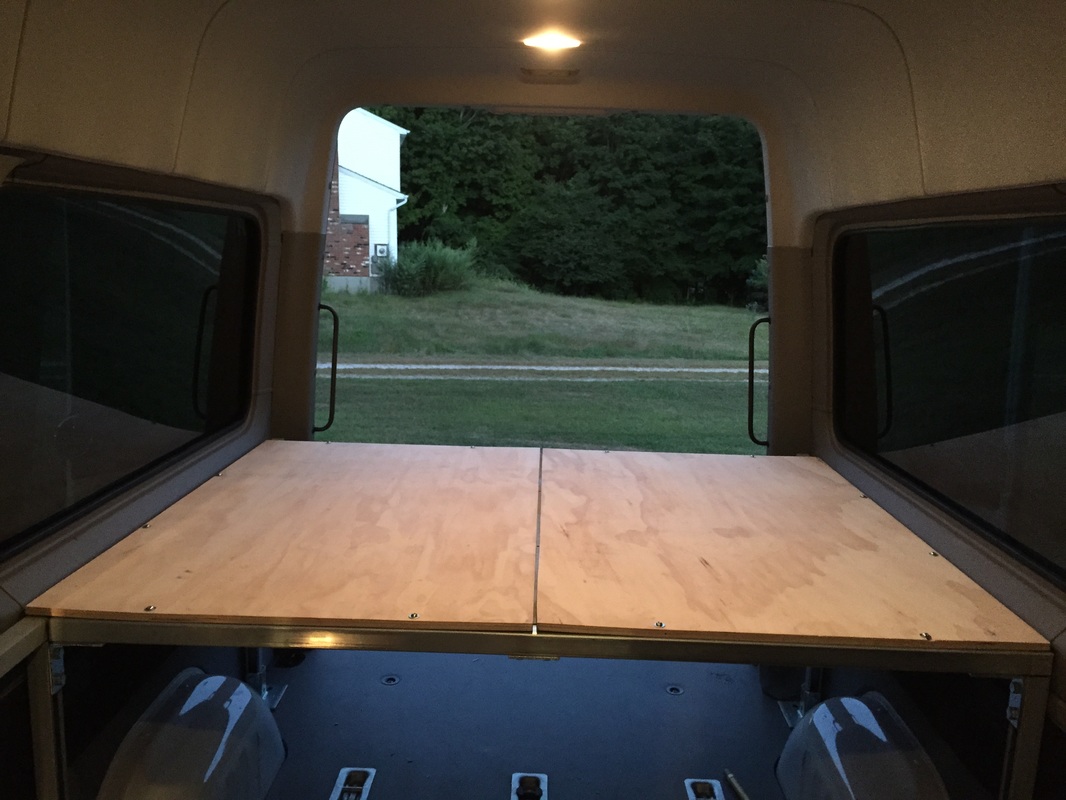
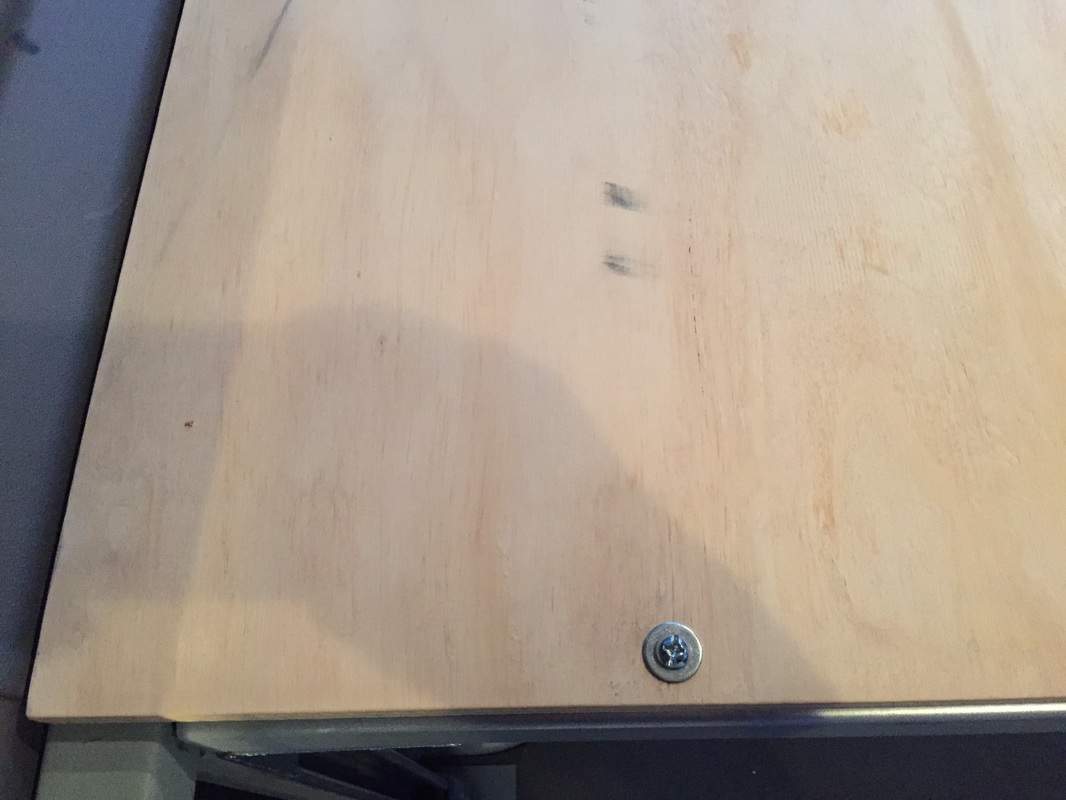
The platform has been tightened down and covered with 'pleather'. That's it for the bed until the mattress comes along. Prepping the Platform Mark loosened up the bed a bit so that we could slip the cover fabric between the side rails and the walls and make a nice smooth finish. He also drilled holes in the cleats that hold the fabric to the underside of the plywood base.. All the screws that attach the plywood to the frame were covered with white tape to minimize rubbing. 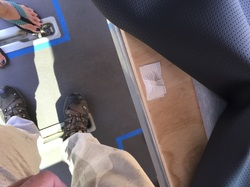 Sewing the Cover Using a rotary cutter made cutting the fabric easy. I used binder clips to hold the pieces together (instead of pins). Had a bit of trouble with the tread shredding. I was using a heavy duty needle but didn't realize that i needed to loosen the tension. Problem solved  Assembly I cut long strips of batting to cover the edges of plywood as well as the edges of the base - since we need to crawl under I'm looking to minimize head bonks. We then fished the fabric between the rails and the sides of the wall. Wrapping the fabric over the batting and underneath, the cleats were screwed into the plywood. Corners we a bit of a challenge. One looks great and the others are a work in progress
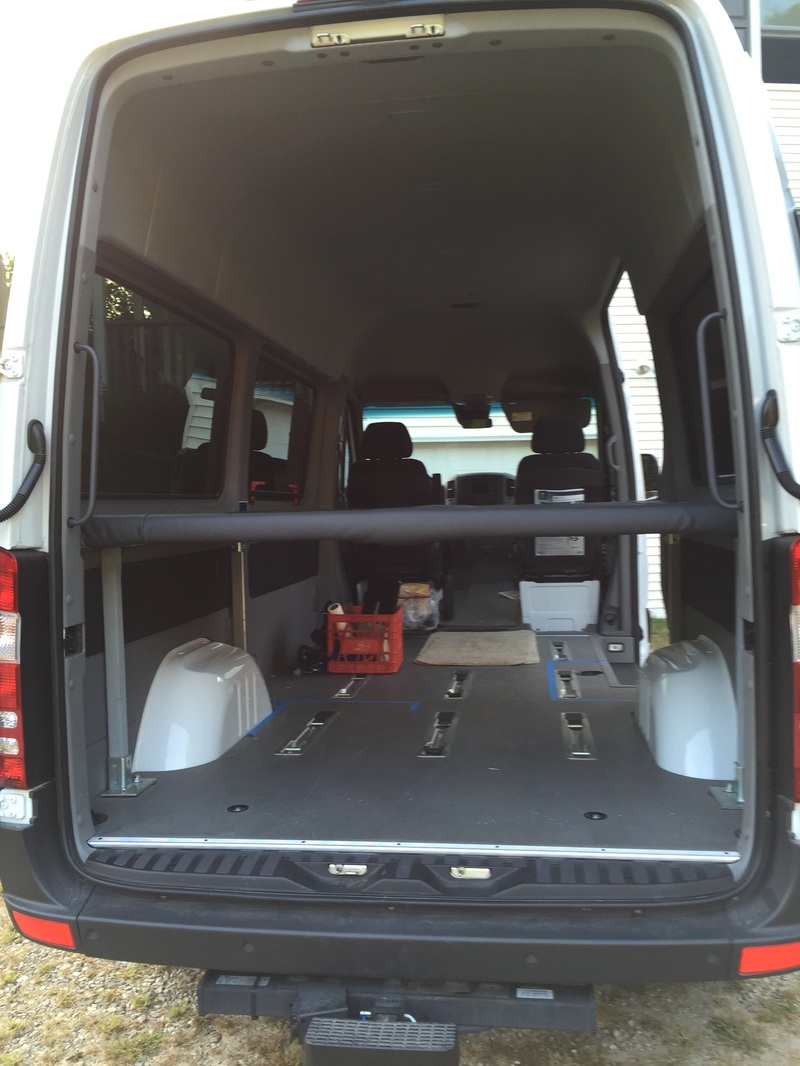
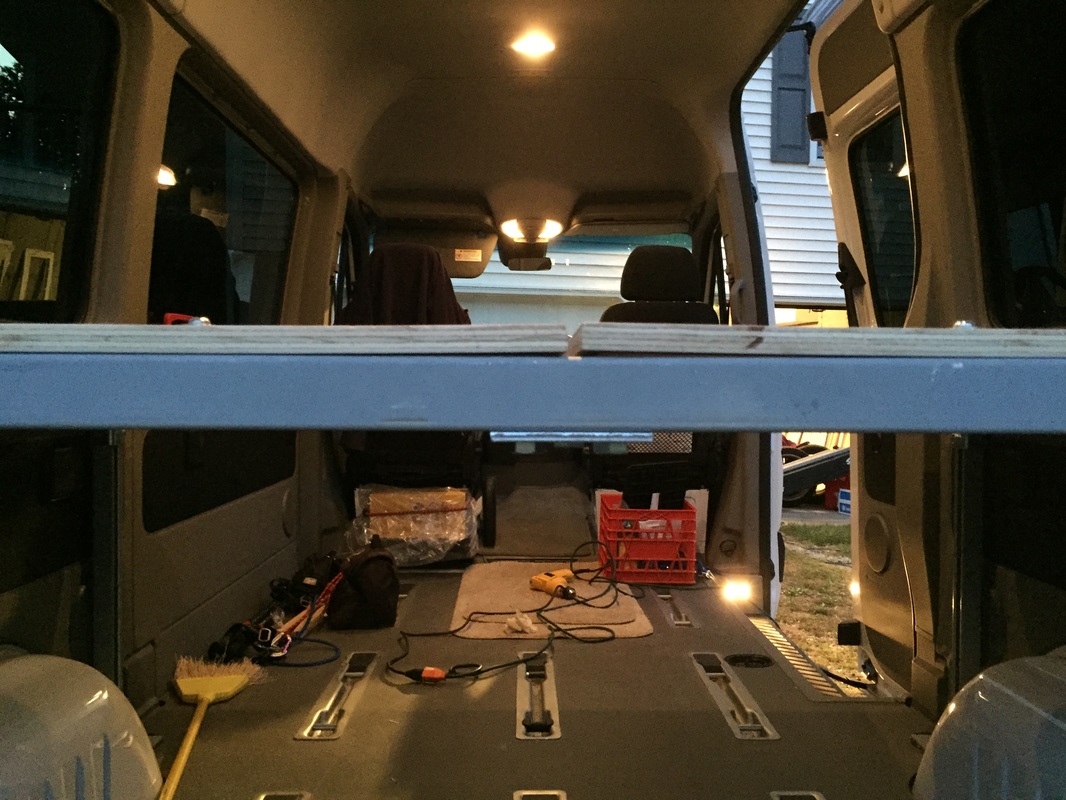
UP NEXT I've finished the new design for the cabinet that will be under the platform. Excited about the new design. Time to call the cabinet maker and make a deal. 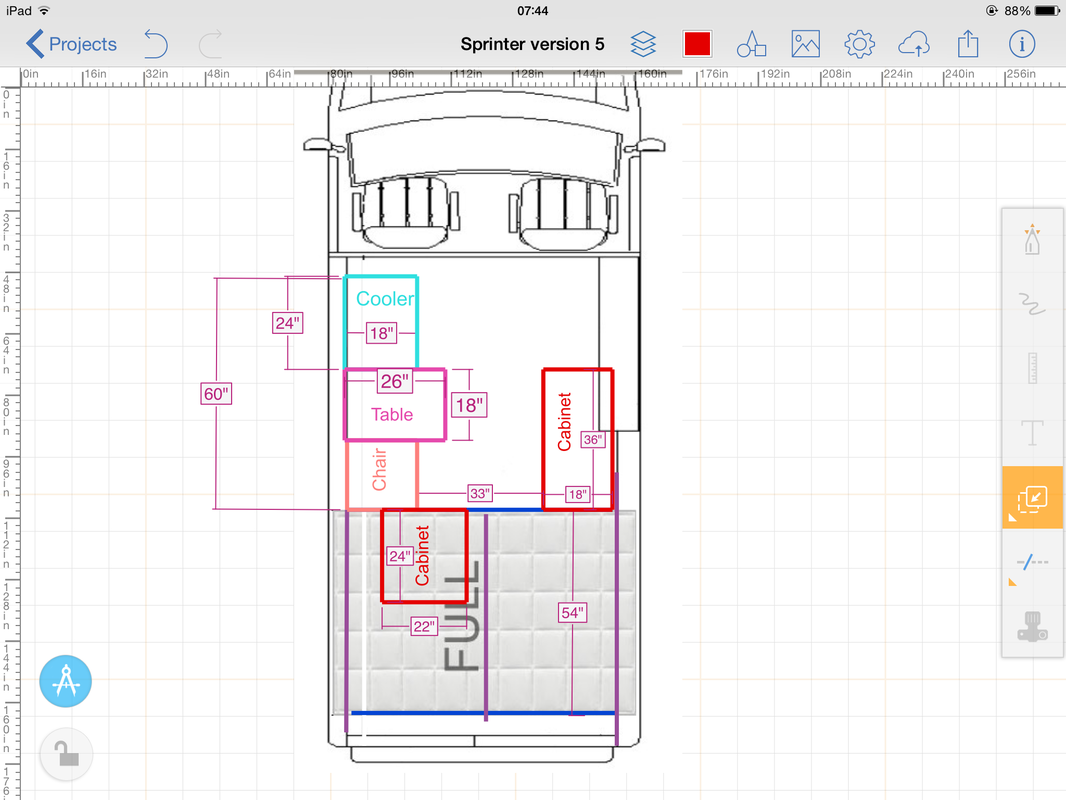 With the platform in we were able to get a good idea of the 'living space" we'll have in the van. Ut-oh, it looks like there's not enough room to really site between the cabinets to eat dinner.
What if.... we shift one of the cabinets under the platform and turn it into drawers? So, it's back to autocad to draft a design. Whew, good thing we haven't placed an order for the cabinets yet. A trip to the lumber yard resulted in 2 cut pieces of 5/8" birch plywood that make up the base of the bed. Also bought fasteners and 4-1" x 30" strips that will be used to hold the fabric to the base. 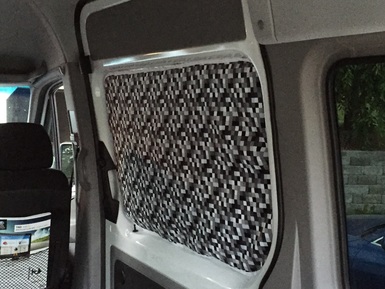 While Mark worked on the base, I modified the slider door cover I'd made to jazz it up a bit and replace the small magnets with a variety of larger magnets. I'm MUCH happier with the results!
|
AuthorWe're a Connecticut couple that retired early so we can see our kids, grandkids and the world. We purchased a 2015 144" High Roof Sprinter Passenger Van and we're converting it ourselves into a camper. Archives
June 2016
Categories
All
|

 RSS Feed
